
Published Date : December 21, 2011
Small mountain towns can be severely lacking in its offerings when it comes to anything other than its outdoor activities, but Crested Butte is thankfully an exception.
It’s pretty obvious straightaway that the natural beauty of the place is enough to draw you in.

But the great thing is that the town of Crested Butte, though tiny, also packs a good punch.

It not only has these adorably colorful buildings along the main street…

…it also has super tasty coffee to get your morning started right. Camp 4 Coffee is a tiny joint just off of the main drag and it seems to have a steady stream of regulars coming and going. They know a good thing when they taste it.

When you start to feel a bit peckish, do not miss The Secret Stash. It’s at the end of the main road and lives in a nondescript little house. Here’s the salad that started us off well.

But it’s really the pizza you should be coming here for. Now, I know a photo can sometimes do a decent job of depicting real life objects, but in this case it falls short.
The pizza may or may not look like much, but please believe me when I say this may be the freshest pizza I’ve ever had. No joke. The toppings tasted as if they’d been picked from the garden that day. And I’m not usually one to go for a thick crust like this one, but lemme tell you that it just works. Makes my mouth water just reminiscing about it. :)

If pizza isn’t your thing, another great food joint is Izzy’s. Don’t be fooled by the mismatched plastic plates. The food tastes delicious no matter what it’s served on.
Looking at the image now, my ham and cheese crepe doesn’t look very big but it was probably twice the size of my normal serving size. Yum!

Reuben sandwich, coleslaw & a pickle.

Like some of the best Colorado Mountain towns (like Telluride or Silverton), Crested Butte is not easily accessible from major cities like Denver (it’s about a 5-hour drive with no traffic & decent road conditions). But sometimes it’s worth it to go out of your way for a good thing, and Crested Butte is a great place with a lot to offer.
Published Date : December 19, 2011
After checking out the Black Canyon of the Gunnison National Park (highly recommended!), we drove along Colorado Highways 50 and 135 to get to Crested Butte.
This route isn’t uber pretty like the Million Dollar Highway with its steep canyon walls or the San Juan Skyway, but it’s not too shabby.

I particularly liked driving through the Curecanti National Recreation Area because the Blue Mesa Reservoir is nice to look at.

Love the sun peeking through the clouds to highlight the cliff wall.


After we hit Gunnison, we headed north on Colorado Highway 135 to get to Crested Butte. Here’s a photo not too far from Crested Butte – the butte is finally coming into view on the right side.

The wide open space is misleading because once you hit town the mountains are all around. And just over the mountains to the northeast (as the crow flies) is Aspen.

Ok, so it’s not the prettiest drive in Colorado, but if you have to get from Point A (in our case the Black Canyon of the Gunnison) to Point B (Crested Butte), then it’s better than a totally flat, uninteresting landscape.
Published Date : December 16, 2011
The Black Canyon of the Gunnison National Park is one of those visual treats that I learned about – and visited – only recently (just like the Colorado National Monument – another impressive Colorado sight with its red rock canyons and towering monoliths). Other than the mountains, which Colorado seems to be known for, who knew Colorado has some of the other geologic gems that it does? Well I didn’t, anyway.
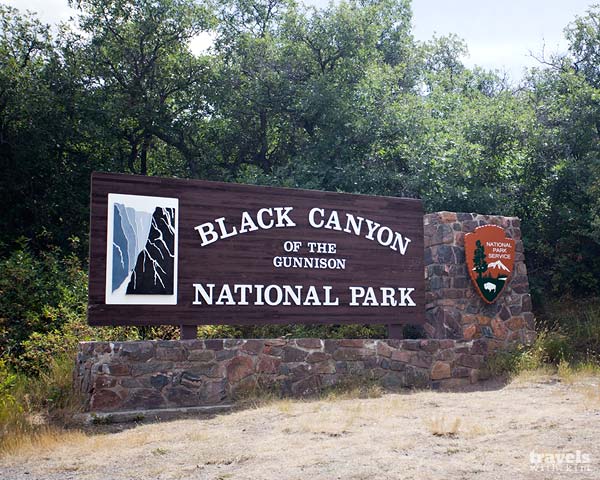
Like the Colorado National Monument, a visit to the Black Canyon is a bit reminiscent of the Grand Canyon in Arizona. The colors and geology differ a bit, but the deep canyon, steep rock walls and winding river remind me a lot of what you’d see there.
Here’s a shot of the Tomichi Point View, the first pull off you’ll come to when entering the park on the south side (there’s also a northern entrance).
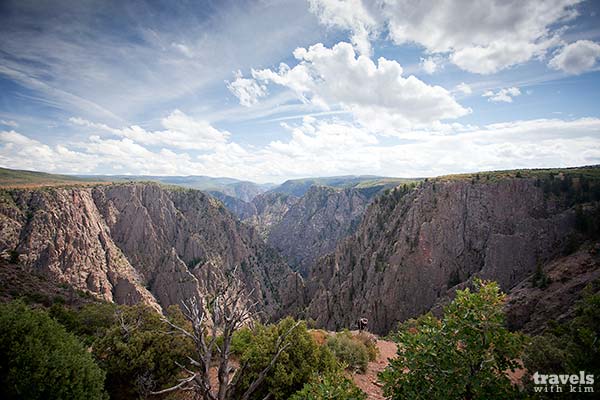
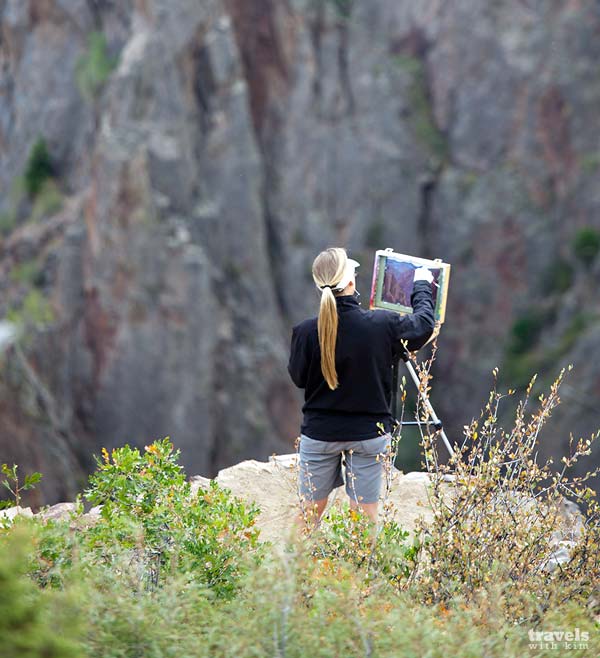
Here’s an artist creating her own masterpiece of the canyon.
The Black Canyon is definitely narrower than the Grand Canyon but still very impressive.
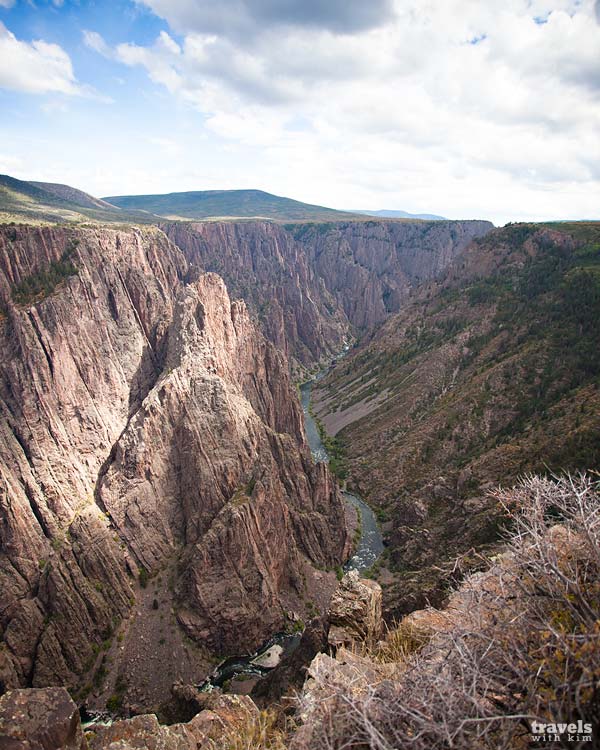
From the road, there are a ton of paths leading out to viewpoints of the canyon (the road stays a safe distance from the cliffs), and some of the trails get mighty close to the drop offs, so watch your step. That wouldn’t be a fun fall.
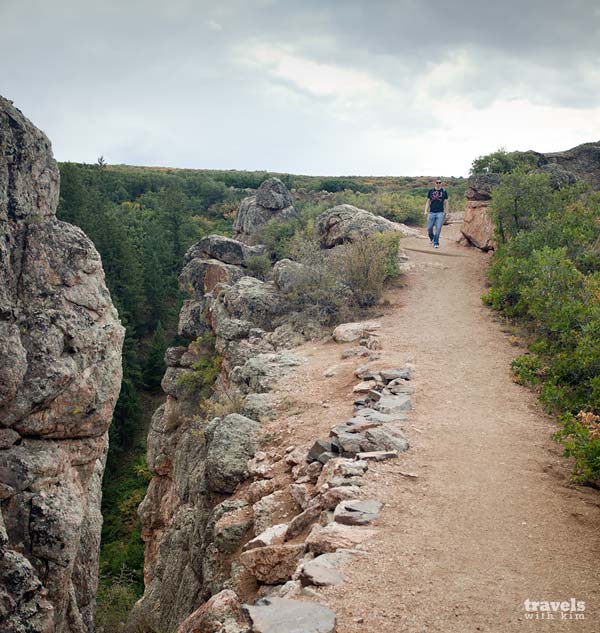
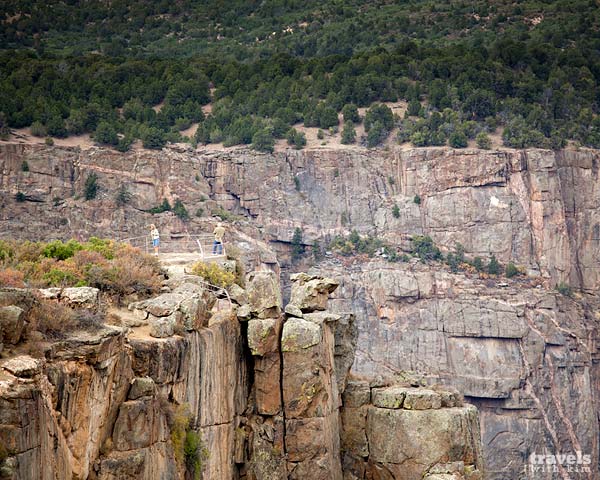
Here’s a peek at a lookout perched at the edge of the cliff.
The Painted Wall was my favorite area in the park, and it’s actually the highest cliff in all of Colorado. Just to put it in perspective, it’s 2200 feet tall – nearly twice the height of the Empire State Building!
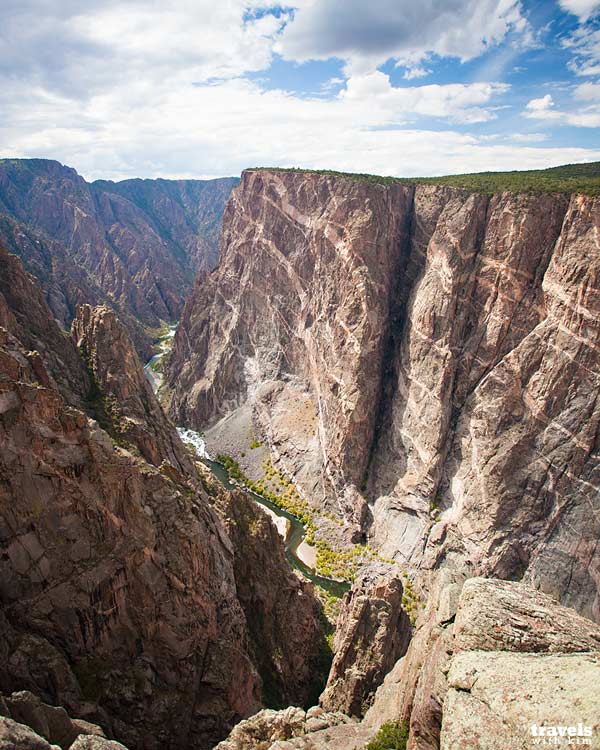
Another view of the Painted Wall from the Cedar Point View pulloff.
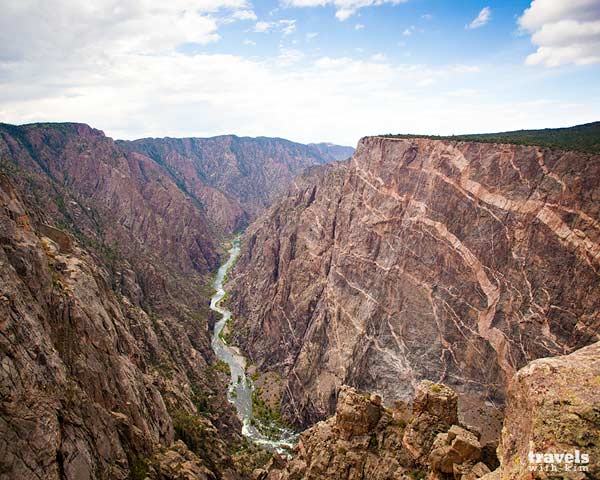
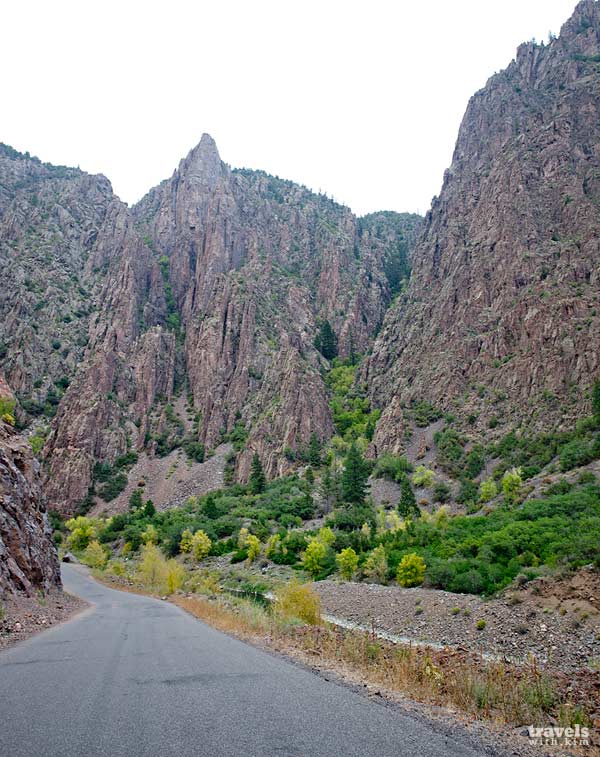
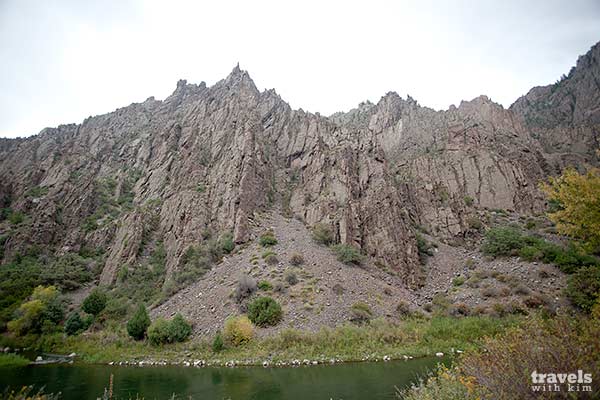
I’m guessing most people only drive along the South Rim Road – which is the main road in the park to see the Canyon. But we also ventured along the East Portal Road. It takes you down a very steep (about 16% grade!) road to the bottom of the canyon. It’s certainly a different perspective looking up at the canyon.
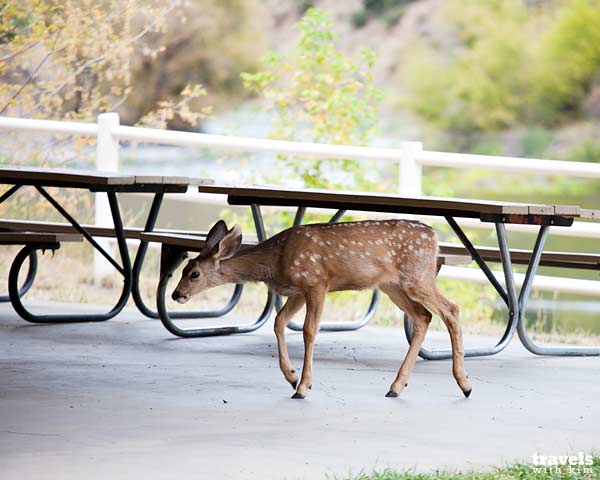
There were some super cute little baby deer hanging out near the picnic tables with their mama.
Go. Not only is it an impressive – and kind of hidden – National Park, it’s pretty easy to see if you’re short on time. While you could access the park from the north and also explore the East Portal Road, you really only need to do the South Rim Road to get the most out of your trip.
Most of the lookout points require a short hike/walk to see the canyon, but the paths are all relatively flat and well maintained. You don’t really need to stop at all of the lookouts (though we did) because some basically show you the same view but at a slightly different angle. My favorites were basically the ones in the photos above, but here’s a summary:
Time Required: 2-4 hours
While you really could rush to see the Black Canyon quicker, you’d probably want to spend at least a couple of hours here to fully take it all in.
Driving Distance: 3 miles one way
If you only drive along the South Rim Road (and skip East Portal Road), it’s about 3 miles one way (you’ll have to backtrack along the same road to exit). But it can take you time to park and then walk out to each viewpoint along the road.
Here’s a map of the main part of the park with my favorite stops highlighted in yellow. But of course if you have the time and the inclination, visit them all! :)
Happy canyon viewing!
Published Date : December 14, 2011
Driving along the Million Dollar Highway is a memorable, if not white-knuckle, experience. I mean, who really needs guard rails, wide lanes and shoulders when there’s a sheer drop off on one side? Ok, most of us would prefer it, but apparently it wasn’t considered necessary.
Don’t let the absence of these safety measures deter you, though, because this stretch of road along the San Juan Scenic Byway is quite stunning, not to mention an engineering feat. Somehow the engineers managed to scale the incredibly steep mountainside and chisel away at it to create a narrow crevice that would eventually become a road for our driving pleasure (well, actually it was built for more practical purposes like providing access to mining areas).
If you’re driving the Million Dollar Highway from Silverton to Ouray (which is the less scary direction if you’d rather hug the cliffs than be on the outside lane), the roads will be windy and include hairpin turns like this one below, but overall the road is pretty easygoing at the beginning.
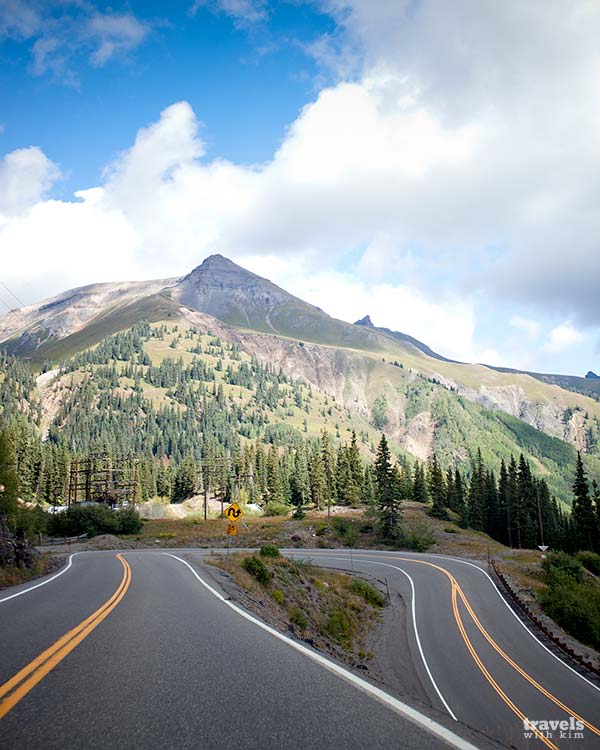
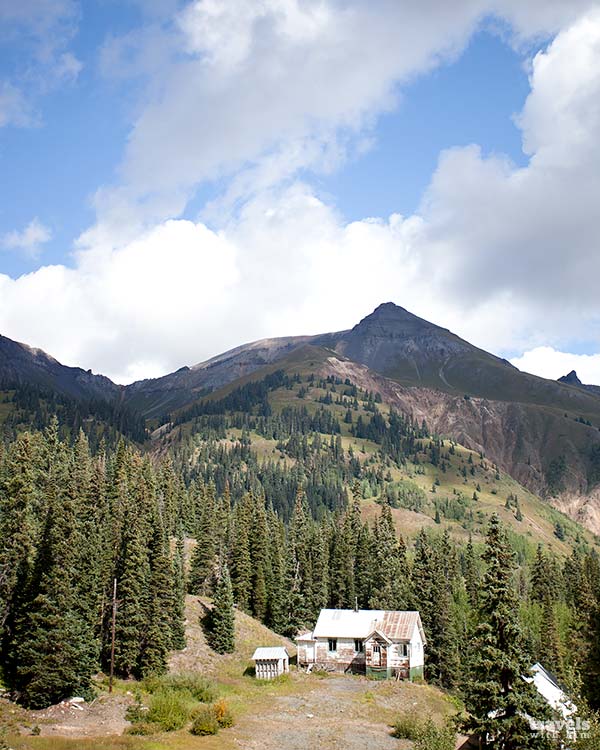
And here you’re pretty much at the bottom of the wide valley. But hold on tight, because just around the corner things will change.
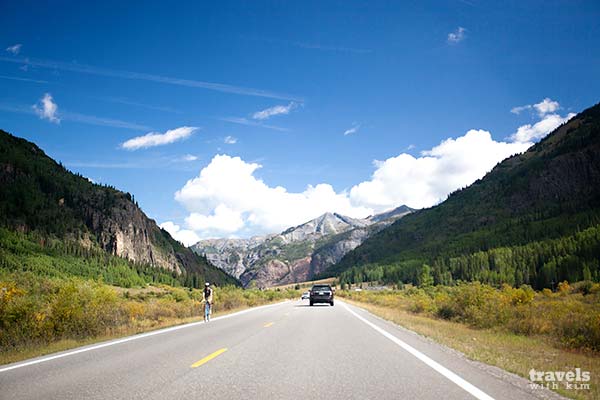
The canyon narrows and deepens considerably and the drop offs become more and more acute.
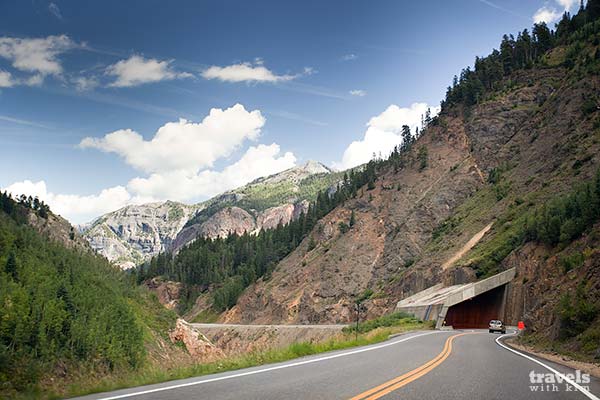
But it’s still oh-so-lovely.
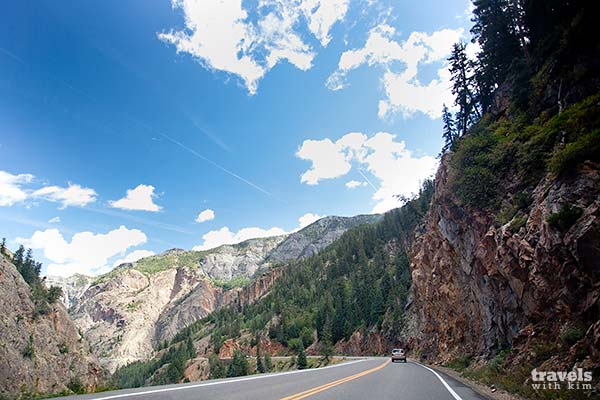
See what I mean about sheer cliffs? It doesn’t get much steeper than this. And as I mentioned above, if you’re keen to be on the inside lane, you’ll want to travel north from Silverton to Ouray and not the other way round. But hey, if a wide semi can do it on the outside lane, so can you (it’s really not that bad).
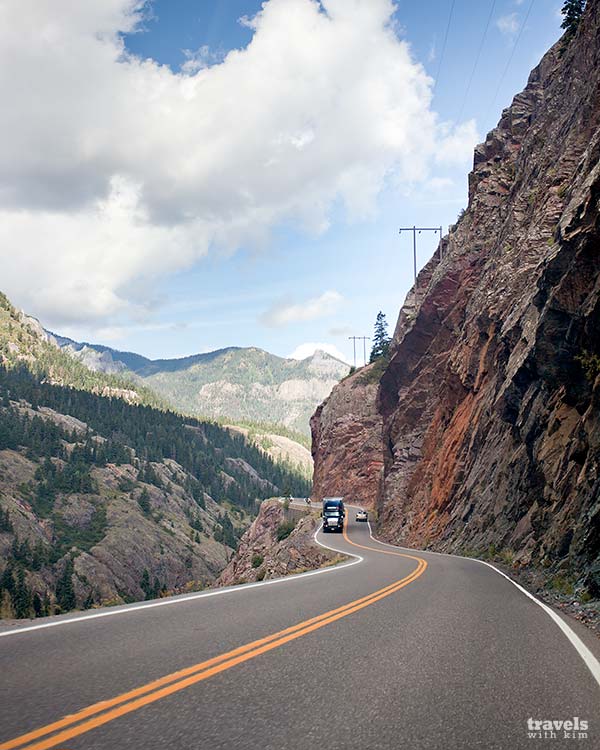
As you near Ouray, you’ve lost some elevation and the canyon begins to widen once again.
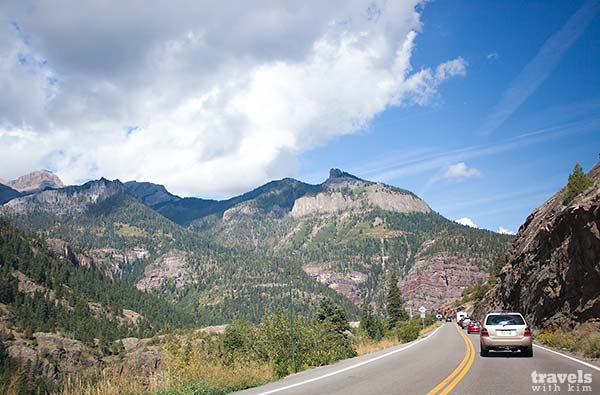
Dubbed the “Switzerland of America,” Ouray is nearly surrounded by rocky peaks.
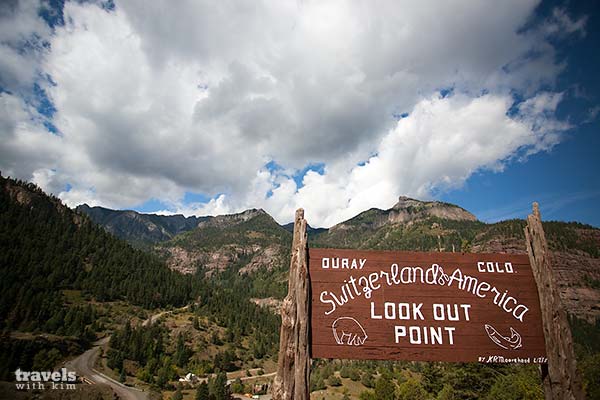
Check out Ouray from this lookout just south of town and it’ll give you a good overview.

Most of the Victorian-era buildings are nicely restored and sit proudly along the streets of town.

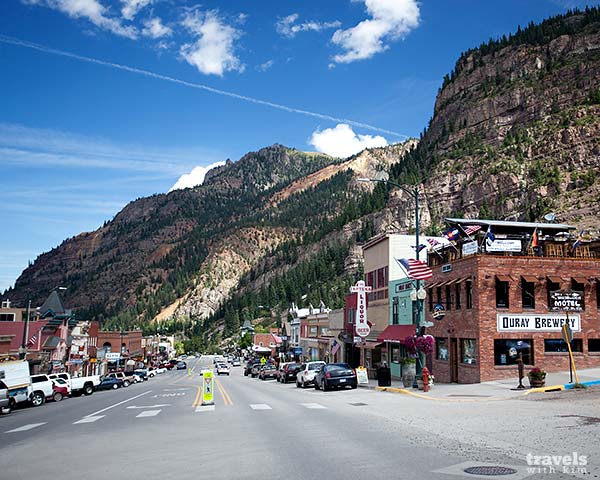
Go. If you drive along the Million Dollar Highway, you’ll see some of the best mountain scenery Colorado has to offer – at least while you’re sitting in a vehicle (you’ll be extra rewarded if you get out of the car and go take a hike. And I mean that in a good way :).
Be prepared to actually pay attention when making this drive. Tough as it may be for some, you’ll want to put down your phone, stop drinking your coffee and refrain from messing with the radio. Not only will you want to take in the scenery, but you’ll want to make sure your car stays on the road because it’s a narrow one.
Something to keep in mind is that there basically are no pulloffs during this stretch. So if you want to take photos, be prepared to snap them through your windows as you drive because stopping on the road is a no-no.
Be sure to take some time to explore both Ouray and Silverton. They’re both super cute little towns and some of the better looking ones in Colorado. Ouray also has some hot springs if you want to soak your bones.
Here’s a map of the Million Dollar Highway, which is also part of the San Juan Skyway Scenic Byway (I also posted some photos of the San Juan Skyway to Telluride & San Juan Skyway from Durango to Silverton).
Have fun and be safe!
Published Date : December 12, 2011
Sitting in a wide valley beneath the Rocky Mountains is the old silver mining camp of Silverton, Colorado.
At first glance there’s not much to this mountain town besides a few colorful buildings along Greene Street, the main drag. But easy access to the backcountry mountain terrain makes this an ideal spot for outdoor enthusiasts or even people who just want to get away from the hustle & bustle of cities.

The surrounding mountains hug the edges of town and make for a quick escape into the wilderness.

Looks like this rusty truck isn’t in commission anymore, but probably did its share of work back in the day.

A few more abandoned trucks along the roadside.

Old half-track military vehicle. Seemed a bit out of place parked along the road.
Silverton’s a National Historic Landmark and most of the historic buildings in town still look pretty darn good to me. Since they were mostly built around the early 1900s, the structures are over a century old now, and that’s about as “historic” as you get in the States.
Gotta love the bikers outside the pink BBQ building.
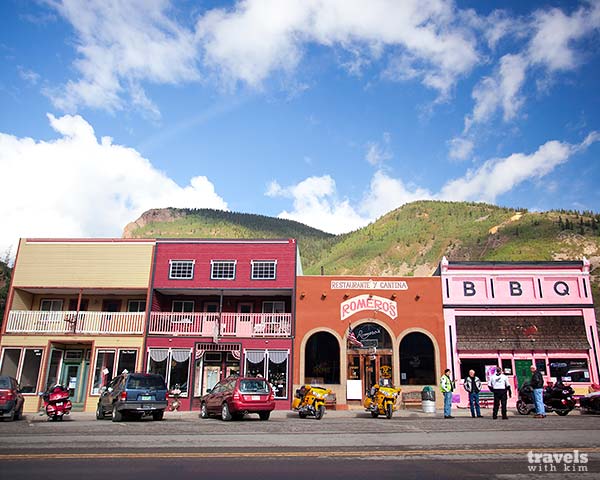
This was my first time visiting Silverton even after all these years in Colorado. The biggest problem (or I suppose some would say biggest benefit) is that it’s really out of the way for most travelers.
If you’re already planning to be down in the southwest corner of Colorado visiting other areas like Durango, Ouray or even Telluride, it’s not terribly out of the way. And the roads you have to take to get here (San Juan Skyway & the Million Dollar Highway) are scenic byways, so that’s a plus!
All in all, Silverton’s such a well-preserved town in such a beautiful setting that it’s worth making it a side trip, if not your primary destination.
Published Date : December 11, 2011
When it comes to putting together a packing list for my next trip, there are certain items that I pretty much always bring, so they’re forever on my list no matter where I’m going. I have an Excel document that I’ve kept and added to over the years and it’s served me quite well. You can check out my Complete Packing List in a post I did.
often no easy way to narrow down your nice to haves to only must haves. There are so many factors involved in selecting clothing, for example, that it can be extremely difficult to ensure you have exactly the right amount.
For example, I’ve been told that Alaska has two seasons: construction and winter. But based on my visits at various times of the year, I’d like to suggest that it has only one: winter.
Whether you’re in the northern or southern hemisphere, you can typically rely on warm summer months. While there are potentially warmer periods during this 3-month period up in Alaska, summertime there is nothing if not reliably chilly. Of course, it’s certainly relative to where you live.
For example, when we first moved to Hawaii, we’d see various people sporting hoodies and beanies. We’d think, “It’s 80 degrees! How can they possibly be wearing those things and not be sweating like crazy?” But to our surprise, after living there for a while we’d be far more susceptible to small temperature drops and once that thermometer dropped below 80 degrees, boy, you better believe I was digging out and piling on my own cold weather gear.
Alaska’s different, though. I’m always cold up there. I mean, it rarely gets above 70 degree Fahrenheit in Anchorage (though some cities experience a wider range in temperatures. Fairbanks, for one, has more extreme highs and lows). I know some Alaskans even think 60 is hot, because I’ve seen them bopping around town in their t-shirts and shorts.
Published Date : December 9, 2011
Day 4 of our Southwest Colorado road trip we did a lot of driving. Luckily it was so pretty and we did have intermittent stops that it didn’t matter all that much that we’d be sitting on our arses for hours most of the time.
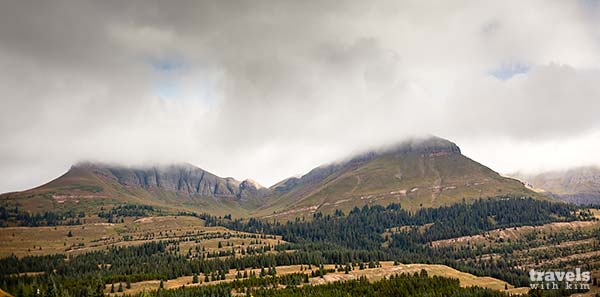
We left Durango at about 8am. It was drizzly and overcast and unfortunately the clouds once again obscured the mountaintops. But they didn’t hang so low that all hope of a good view was lost.
From the start, the scenery along the San Juan Byway doesn’t disappoint.
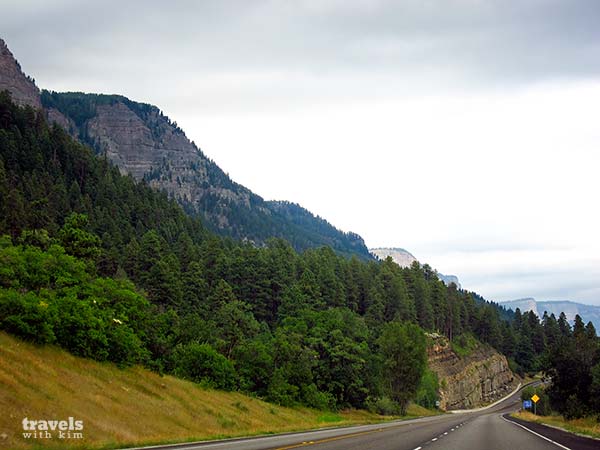
When driving the scenic byway, you essentially wind your way through the valleys between towering peaks, the landscape ever changing from tree-laden hillsides to sheer, rocky slopes.
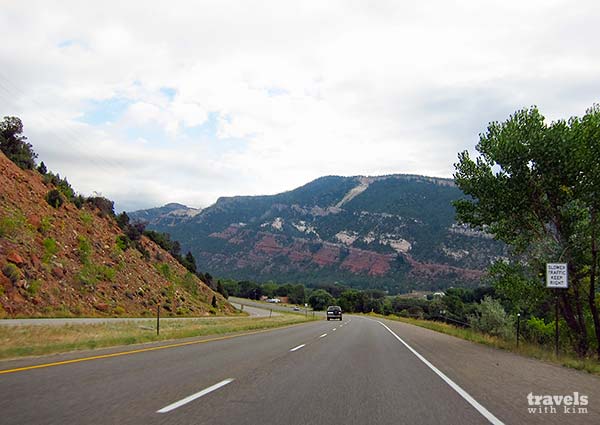
If it were about 2 weeks later, this hillside would have been afire in golden aspen leaves. Still pretty when it’s green, though. :)
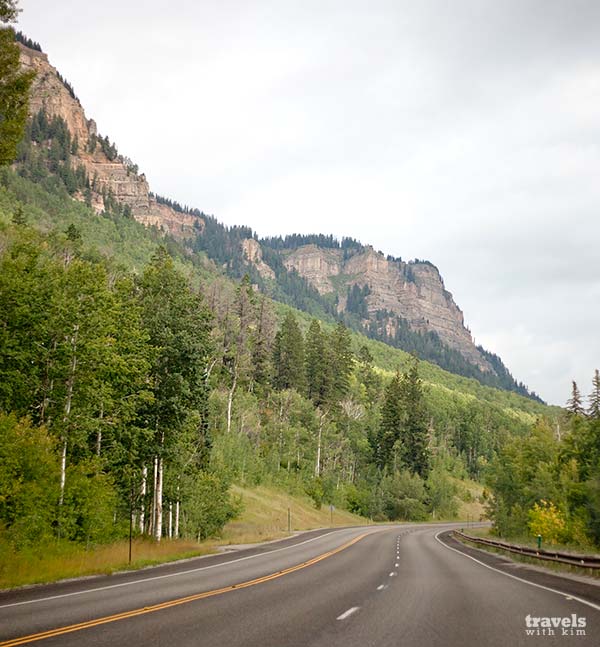
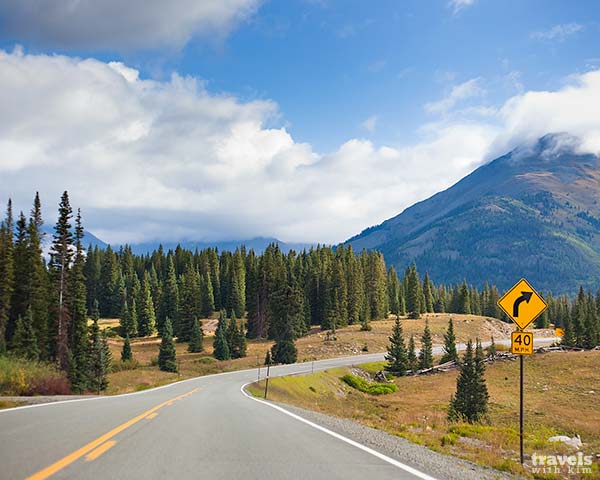
The sun started to peek its way through the clouds and lit up the land.
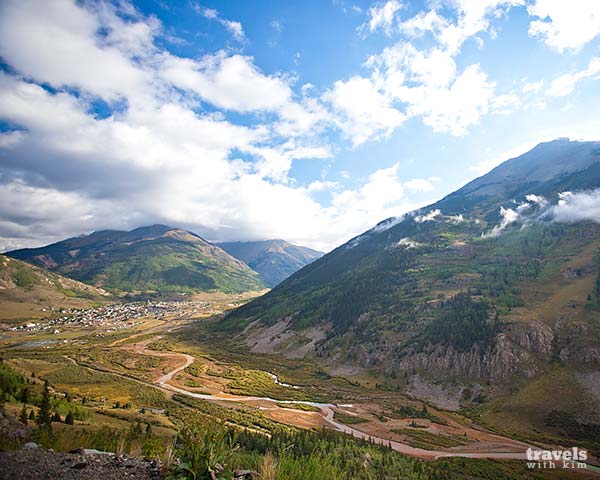
On the descent from Molas Divide, you can pull off and get a shot of Silverton. Just lovely.
You pretty much can’t go wrong driving along the San Juan Skyway Scenic Byway from Durango to Silverton. It’s truly magnificent scenery and you won’t be disappointed.
Drive Time: ~1.5 hours
The drive actually didn’t take long considering it was all mountainous driving. It wasn’t as twisty as some roads can be and the conditions were good. (I’m sure in snow it would take a lot longer!)
Distance: 50 miles
Here’s the Colorado Department of Transportation’s map of the entire San Juan Skyway Scenic Byway. The route we took today is highlighted in pink.
Click on the map to go directly to the San Juan Scenic Byway’s information on Colorado Department of Transportation’s site.

And here’s an overview of our route. Click on the map to see it in a larger window.
Published Date : December 7, 2011
After visiting Mesa Verde (you can check out my photo galleries of Cliff Palace, Spruce Tree House & other Mesa Verde highlights), we stopped in Durango to stay the night.
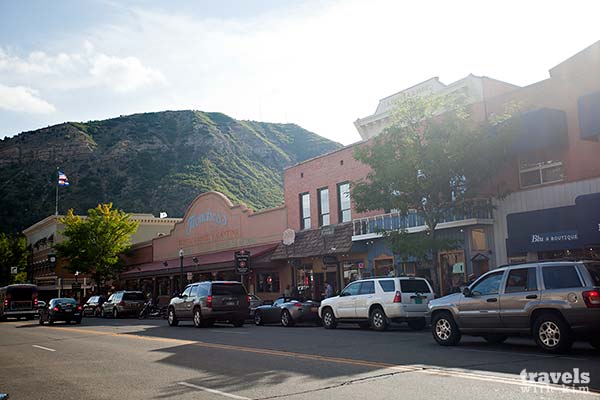
It’s a super cute town and walking the main street is a good way to pass the time since there are a lot of little clothing boutiques, cafes and souvenir shops.
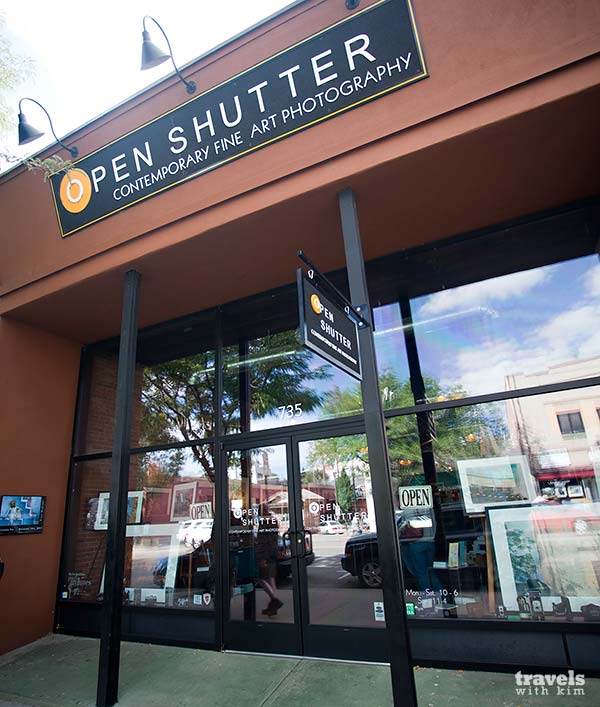
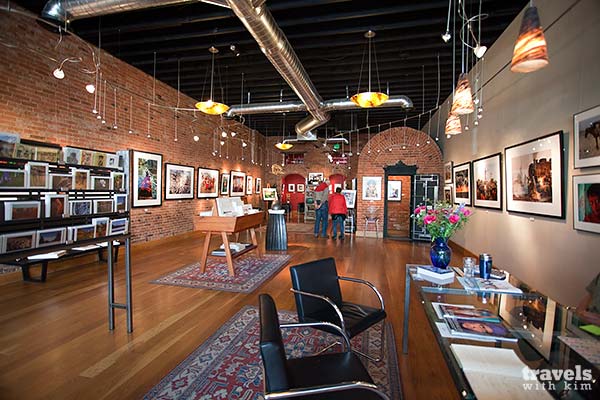
I thought the most interesting place by far was the Open Shutter Fine Art Gallery. We had just missed the opening night of Steve McCurry’s show, but I was stoked to see so many of his iconic images on display – including probably his most famous photo of the Afghan girl with the haunting green eyes.
Inside the gallery.
Durango is a quaint little mountain town and it’s certainly a good place to park yourself for a night or two. There’s a ton of outdoor activities around there to keep you busy for a long time.
And if you’re at all interested in fine art photography don’t miss stopping at the Open Shutter Gallery.
Here’s a map of Durango and the Open Shutter Gallery (click on the image to go to a bigger map).
Published Date : December 5, 2011
 There are so many little pulloffs, pithouse stops and cliff dwellings at Mesa Verde, it can get a bit overwhelming. It’s hard to know what to spend time on.
We visited Mesa Verde in early September and, unfortunately, some sites were already closed for the season (namely the entire Wetherill Road area), but there was still great stuff all along the Chapin Mesa.
Other than the Balcony House (which I think is probably a must-see but I can’t say for sure since I haven’t toured it in a while and we couldn’t visit this time around), we literally stopped at every pulloff and saw every site that was open.
I’ve already posted photos from my other two favorite cliff dwellings at Mesa Verde – Cliff Palace & Spruce Tree House – but here’s a list of the other things I’d recommend seeing or stopping off at.
While not necessarily picturesque, you can’t help but notice the fire damage in the park. I can’t remember which fire caused this destruction, but it was amazing how devastating and widespread the damage was from one of the fires at Mesa Verde. Huge swaths of land were burned, leaving only thousands of blackened tree skeletons. Burned or not, even these trees are photo worthy in their own way.

This particular image of a dead tree with a canyon in the background was taken at the Hemenway House pulloff. Good photo opportunities of the park are just about everywhere – just gotta keep your eyes open.

I’m pretty sure this is the first stop along the Mesa Top Loop Road. There are so many pithouses at Mesa Verde, but I liked this one because it seemed to have a lot of signs describing the site and its uses.


Not far past the Pithouse stop above, the Navajo Canyon Overlook is a truly great 180-degree view of the canyon. It’s a quick pulloff from on the Mesa Top Loop Road.

This is a small cluster of communities near the Far View Visitor Center. They seem in decent shape and my favorite was the Coyote Village because you can walk all around it. So don’t skip that one if you stop off here.

Rabbit brush is one of the most common shrubs you’ll see in this part of Colorado. The lovely yellow bushes brighten up the landscape.

Kiva at Coyote Village.

Not too far from the park entrance is the Park Point Fire Tower & Lookout. Once you park your car, you’ll have to walk up a hill to get to the two different lookouts. The two photos below were taken from the northern lookout point. The views of the surrounding area are pretty darn good.

Looking towards the north-northeast.
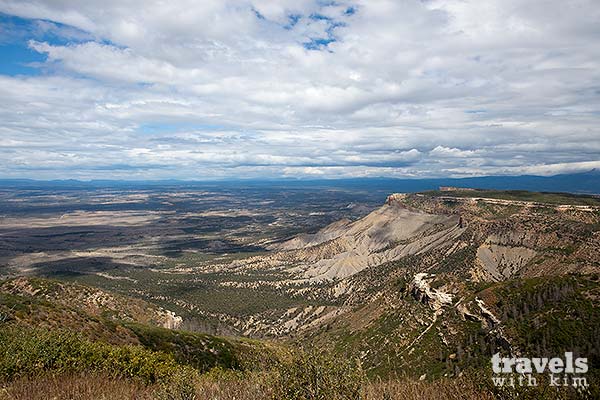
Everyone will get something different out of visiting Mesa Verde, but there’s surely something for everyone here. The cliff dwellings are truly a unique and incredible testament to a human’s ability to survive even in the strangest of places.
Here’s a map of where the Pithouse & Navajo Canyon Views are. Click on the image to go to the National Park Service’s map.
Here’s a map of the Far View Sites & Park Point Overlook. Click on the map to go to the NPS’s map.
Published Date : December 2, 2011
Spruce Tree House at Mesa Verde might be the best cliff dwelling you can explore on your own. (Some of my other favorite dwellings, like Cliff Palace, must be explored as part of a ranger-led tour.)
As the 3rd largest dwelling (after Cliff Palace & Long House), Spruce Tree House has a lot to explore – about 130 rooms & 8 kivas (which they are guessing were rooms used for ceremonial/gathering reasons).
Here’s a photo looking down towards the cliff dwelling.

To get there, you’ll need to make the 100-foot descent from the Chapin Mesa Museum along a well-paved path.

Because it’s a self-guided site, you can do it at your own pace.

Because certain areas are restricted, you’ll be able to get some great tourist-free photos like these two below.


I thought one of the best things about Spruce Tree House is that you can actually climb down into a reconstructed kiva. Most of the other kivas you’ll see at Mesa Verde don’t have roofs on them and it can be a little hard to imagine exactly what it looked like when the Puebloans used them. This one is pretty intact and gives you a great idea.
There’s a steady stream of people wanting to climb down and then up, so you may be waiting a while to get down, check it out, take a photo, and then get back up again. It’s very difficult to get an image without anyone in it, but it can be done if you’re patient enough (clearly I was only partly patient since I still have a foot in my photo :).

The stones you see in the image below are similar to the ones used by women to grind up corn into flour. They spent hours performing this task.


Go. Spruce Tree House is really one of the highlights of Mesa Verde. At some point the cliff dwellings may start to run together (especially if you’re just viewing them from afar). But this one you can walk around and see pretty well, so it’s a must-do attraction in my book.
The purple pin below marks the location of the Spruce Tree House.
The pink pin is Cliff Palace & the yellow is the Far View communities. A couple other favorite stops in Mesa Verde.
View Mesa Verde National Park, Colorado in a larger map
Here’s a detailed section of the National Park Service’s map of Mesa Verde (click the image to go to their full-sized map).
Published Date : November 30, 2011
 Mesa Verde is an incredibly unique place to visit.
Each time I go (this is my 3rd time) I leave more impressed by how these people lived.
Our parents like to tell us how tough life was for them back in the day, and I think most of us have heard some version of how they had to walk 5 miles to school uphill both ways in the ________ (insert inclement weather here – snow, rain, hail…). But even they don’t know how good they had it.
In most modern places today you can turn on the tap and have instant access to water. The ancestral Puebloans of Mesa Verde didn’t have this luxury. Just as one tiny example, these people had to walk for miles just to collect water. Then they’d not only have to carry it back, they’d also have to scale the rock walls using only the tiny finger-and-toe holds to haul the water up to the dwelling itself. Amazing? Um, yeah. And perhaps even more amazing? This was the women’s job.
There are a few different dwellings you need to be on a tour to see and Cliff Palace is one of them. It’s the biggest one and totally worth the minimal additional charge ($3 per person as I write this). If the tour’s operating (and sometimes certain tours are not depending on the time of year, etc.) don’t miss it.
The guided tour is led by a ranger and lasts about an hour. During the tour, you’ll descend down steep rock steps, climb 5 wooden ladders and walk about 1/4 mile overall.
You meet the ranger and your tour group at the Cliff Palace Overlook. Here’s the view of the dwelling and surrounding valley from the lookout. You can see how difficult it would be to lug water up from the valley floor to the dwelling. Ugh.

A closer view of Cliff Palace.

Before you get to actually walk among the ruins, you’ll wait in an area just next to them while your ranger tells you all about life in the pueblo. You can just look at the image below and imagine a bustling scene of about 100 people just trying to survive in this challenging environment.


I don’t know why our ranger didn’t point this out to the people on the tour, but there’s a tower where you can stick your head into a hole and peer up towards the ceiling. On the rock wall above, you can make out some original pictographs (according to our ranger). I think that’s pretty amazing stuff seeing drawings from about 1000 years ago.

Once you leave the site, you’ll walk up these stone-carved steps and then climb a few different wooden ladders. It’s a tight squeeze in places!

At the top of the ladders you can gaze across the canyon to where you began the tour. You can just make out the tiny people grouped at the top of the rock there on the top left and also see the cliff dwellings down in the bottom right.
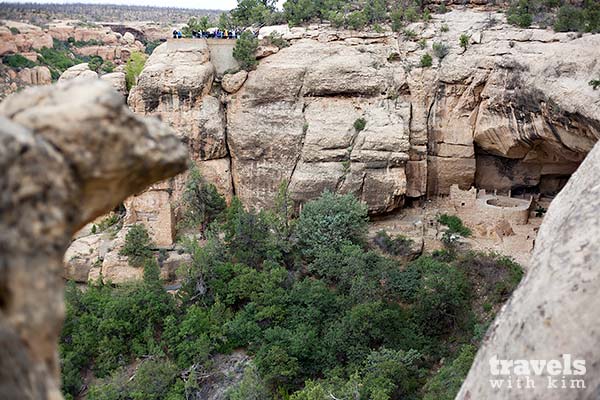
Most definitely try to make a trip out to Mesa Verde and while you’re there, don’t miss Cliff Palace.
Here’s a map of my favorite sights at Mesa Verde:
-Green: park entrance
-Pink: Cliff Palace
-Purple: Spruce Tree House
-Yellow: Far View Sites
View Mesa Verde National Park, Colorado in a larger map
Published Date : November 28, 2011
After visiting Hovenweep & the Canyons of the Ancients, we headed towards Cortez, Colorado, our pitstop for the night before visiting Mesa Verde the following morning.
This part of Colorado is not well trafficked so we had the road mostly to ourselves. Near Hovenweep, the landscape was desolate and looked a bit like a moonscape (except for the newly paved road, of course :).
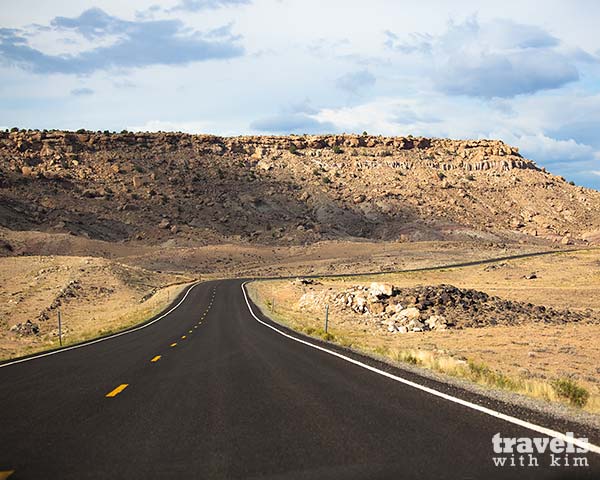
Eventually more shrubbery and green-colored hills came into view.
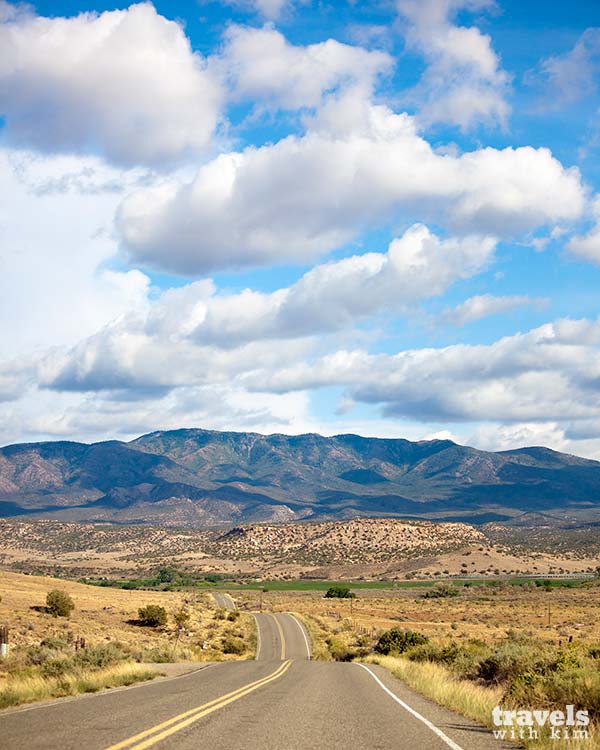
And then there was even a hint of red.
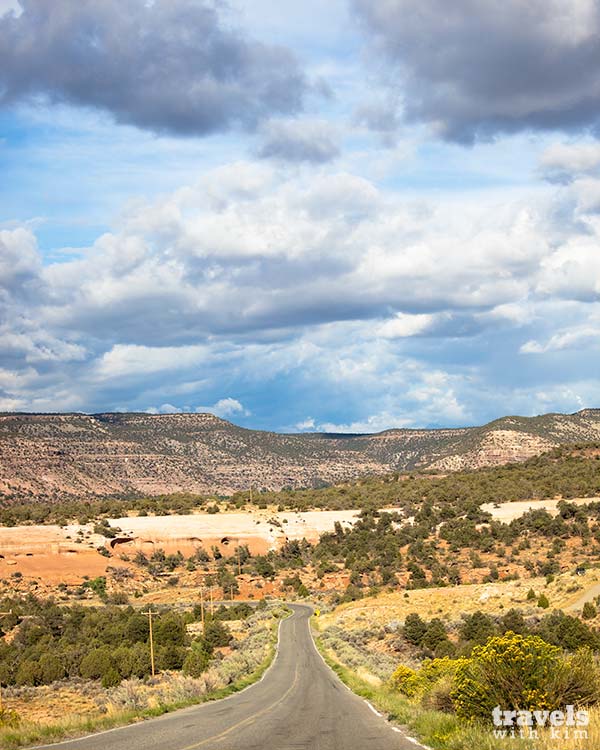
The skies began to cloud over as we headed into the outskirts of Cortez.
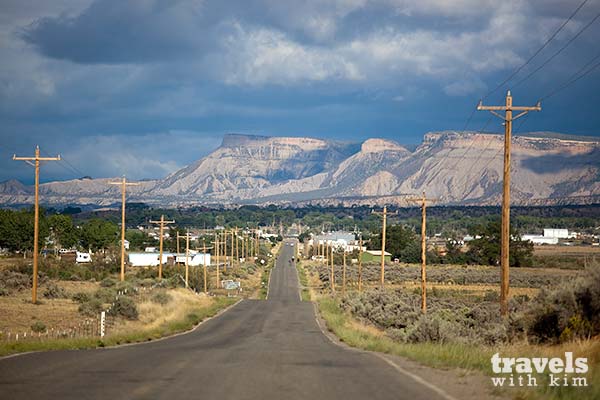
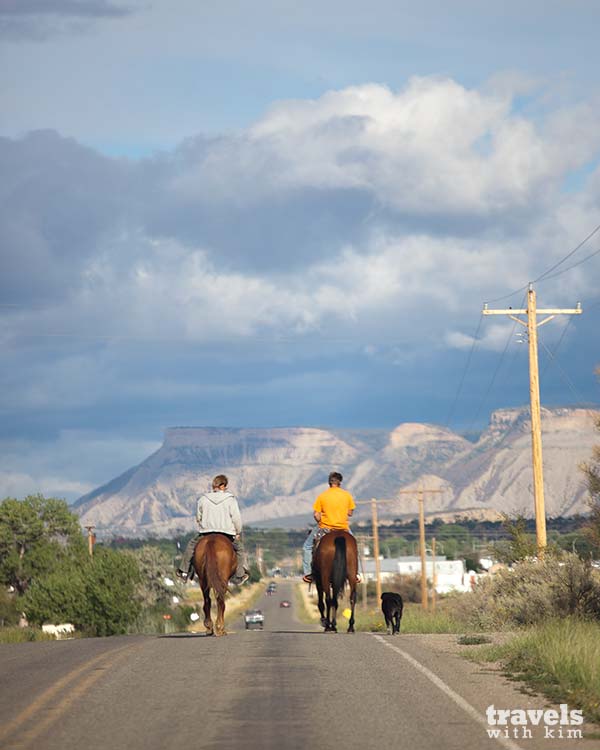
And here’s a taste of small-town Colorado. Apparently horses and dogs have an equitable share of the road.
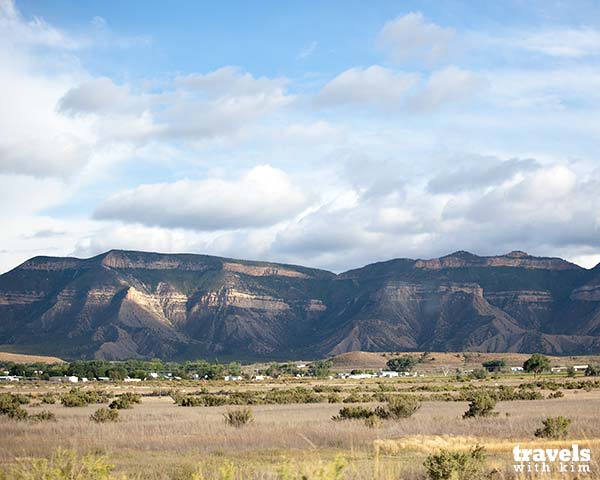
The drive from Hovenweep to Cortez was quite nice. The 2-lane roads brought us through and by desolate rocky terrain, relatively lush valleys (as much as it can be called “lush” in Colorado’s very dry climate) and rolling hills.
Cortez, however, is a bit of an eyesore with its industrial buildings and heaps of trashy billboard-type signs. Other than being a great place to stay the night when you’re visiting Mesa Verde, don’t plan on spending much time here.
Here’s our driving route Hovenweep to Cortez. I think it took us about 1.5 hours.
View Drive from Hovenweep to Cortez, Colorado in a larger map
Published Date : November 25, 2011
In case you missed the last few entries, today’s day 2 of our 5-day Southwest Colorado Trip. So far we’ve visited the Colorado National Monument, driven on a couple of scenic byways and stayed in Telluride. It’s been a great trip, but we’re just getting started.
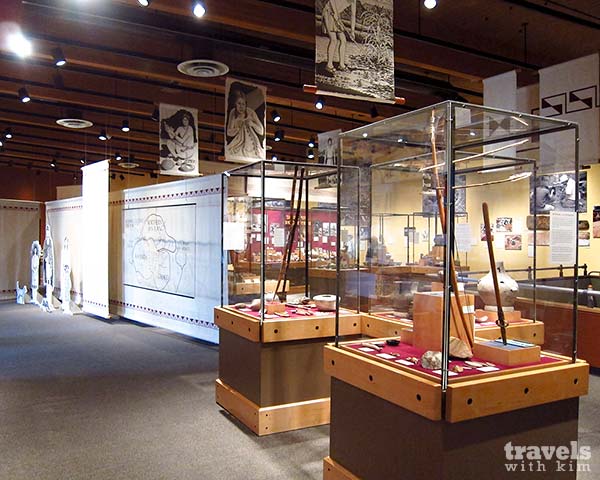
Our first stop today was the Anasazi Heritage Center near Dolores, Colorado. I’m glad we visited this before touring the sites, not only because the staff is very knowledgeable and will help point you in the right direction (the roads are tiny and can be easy to miss) but also because you can read a little more about the ancestral Puebloan people and view a ton of ancient artifacts in their small but jam-packed museum.
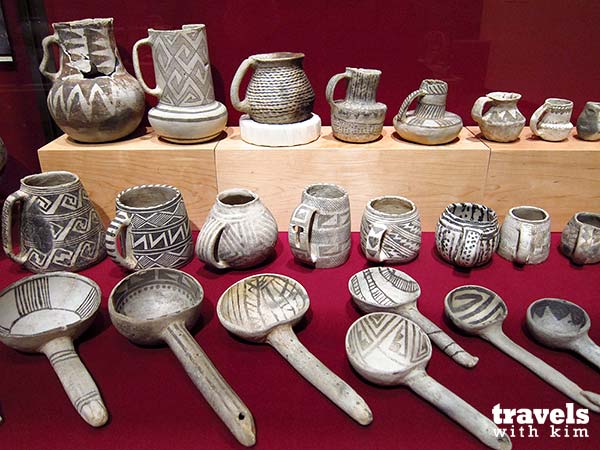
I’m impressed by their artistic skills and craftsmanship way back in the day. Some of these pieces dated around 1000 A.D. That’s a crazy long time ago and look how well they held up!
If you’re not paying attention, you won’t really know when you’ve officially entered the Canyons of the Ancients National Monument. There’s no fanfare, no ranger booths, no fancy entrances – just a simple sign announcing your entry.
The land that the Canyons of the Ancients covers is huge, though there are just a few sites that are accessible to visitors.

Our first stop was Lowry Pueblo. It’s a tiny, compact ruin with a multi-storied Great House, various pit houses and a few kivas, including a Great Kiva which is set apart from the main structures.
Here’s the path to the main collection of ruins. You can pretty freely wander around the site and go inside the covered section you see on the left in the photo below (which is only covered to protect it from the elements – it’s of course not the original roof :).

Here’s an image of the Great Kiva at Lowry. Kivas were typically large rounded holes dug into the ground and used for spiritual ceremonies, communal meeting places and probably other activities that we don’t know about today.

After leaving Lowry, we made a slight detour to visit the Painted Hand Pueblo. The parking lot is about 1 mile off of the main road and you’ll have to navigate on a very bumpy, horribly maintained road. Be careful not to bottom out. It can be done in a car, though, and if you’re careful you should make it ok.
Once you arrive at the parking lot you’ll have to walk about 1/4 mile on the trail to get to the tower where the painted hand pictographs can be found. The first part of the walk is flat (like you see below), but to actually get down below the tower, you’ll have to scramble a bit over rocks. Watch your footing carefully because there are spots of loose dirt that can make it slippery.

Here’s the tower built above the large rock outcropping. There’s also remnants of rooms built below, too. I’m sorry to say we didn’t actually see the pictographs ourselves (we couldn’t really find any good descriptions of where exactly they can be found) but seeing the ruins was still worthwhile.

Our last, and most major, stop of the day was at Hovenweep National Monument. Pop into the Visitor Center to pick up a trail map. It’ll tell you what each building or ruin along the way was intended for and give a little history.

Hovenweep’s buildings are scattered around the edges of Little Ruin Canyon and can be seen by following the roughly 1.5-mile trail. Most of the trail is uneven and if you’re walking the entire loop, there’s a short section where you’ll have to descend into and then hike out of the canyon. Most people will be ok if they take it slowly, but I can’t say this part is the easiest hike for everyone.
You’ll see different types of towers, houses and even a small castle. The buildings aren’t really in that great of shape and you can’t go in or get too close to any of them, but it’s still interesting to see how a small community of people lived in this one area.

I have to say that if it wasn’t for my father-in-law, we wouldn’t have made the extra journey to the Canyons of the Ancients. I’d been to Mesa Verde before (and we’re heading there next on this trip) and I found Mesa Verde to be more impressive overall.
I can see 2 major reasons for visiting these sites:
1) If you’re hard core into archaeological sites & history.
2) You’re the type of person who wants to thoroughly explore everything.
If you’re short on time and you don’t fall into one of these two camps, I’d recommend skipping the Canyons of the Ancients and seeing Mesa Verde instead. You’ll basically end up seeing the same types of ruins at Mesa Verde without having to go out of your way too much (and I think once you’ve seen 3, 4 or 5 pit houses or kivas,they all start to look the same).
Overview map of the sites we visited within Canyons of the Ancients & Hovenweep. (You can click on the link below each of the maps to zoom in for details.)
View Touring Ancient Puebloan Sites & Monuments in a larger map
Lowry Pueblo is super compact and accessible for most everyone.
View Touring Ancient Puebloan Sites & Monuments in a larger map
Hovenweep National Monument. The highlighted pink line indicates where the roughly 1.5 mile hiking trail is (approximately :).
View Touring Ancient Puebloan Sites & Monuments in a larger map
Published Date : November 23, 2011
After visiting the Colorado National Monument and driving along a couple of Southwest Colorado Scenic Byways, we stayed our first night in Telluride, Colorado.
The night we arrived was clear and cool, but we awoke to an overcast sky, the mountaintops shrouded in clouds. We’d hoped to do some hiking in the morning before leaving town, but the persistent drizzle turned into a pesky mini-hail, so we opted to skip it.
Even though we didn’t get any hiking in, we still took the free gondola up the mountain (you can catch it right in town – see my map below for details).
Heading up the gondola, you’re rewarded with excellent views of the town of Telluride. This alone makes the free ride worth the trip.

We hopped off at the highest point (called St. Sophia) for a quick walk around. The narrow valley that Telluride sits in is surrounded by steep mountainsides. The gondola whisks you up the hill in no time and then you can take in the views for as long as you like.

After walking around and snapping a few photos, we hopped back on the gondola at St. Sophia and headed down towards Mountain Village to check that out (there’s not much to see but a few shops). Then we headed back to Telluride.
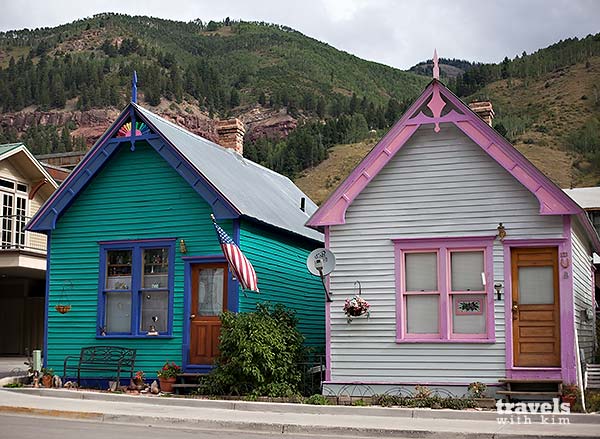
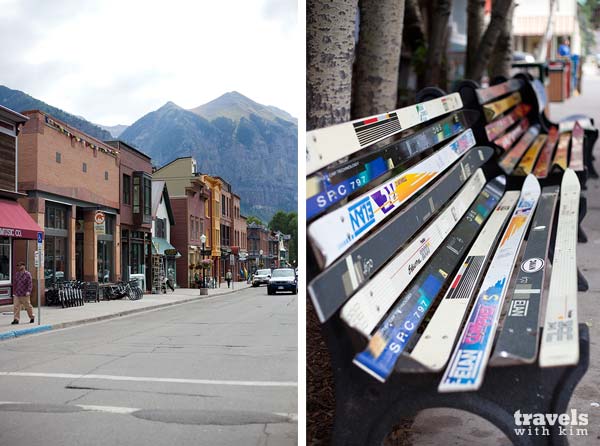
Back in town, we strolled around a bit checking out the colorful buildings and old architecture.

Clever use of old skis to make a bench.
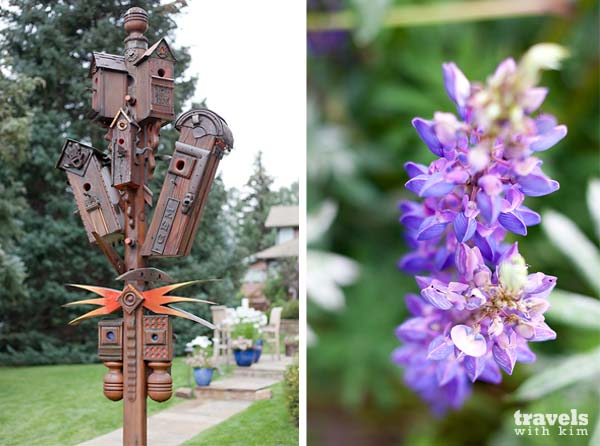
Quite the craftsperson, I’d say, to construct such an intricate and interesting birdhouse.
Telluride is in a stunning location, surrounded pretty much on all sides by steep mountains. The town is tiny and charming and has a bit of history to it, too (it was a silver mining town back in the day, it’s listed on the National Register of Historic Places & is one of Colorado’s 20 Historic National Landmarks).
Today you’ll find epic skiing/snowboarding, tons of hiking and biking trails, festivals and events, and many other activities to keep you busy year-round.
If you’re in search of delicious coffee, check out The Steaming Bean. And if there are any scones there from Brown Bag be sure to get one! They’re some of the most delicious I’ve had in the States – my mouth waters just thinking of them! :) (At this time they didn’t have a website to link to but you can do a search and find info on them easily.)
Here’s a map of what we did. The pink highlighted area is where the free gondola goes and the green push pins are gondola stops.
The coffee cup symbol indicates where the Steaming Bean is. Yum!
View Telluride, Colorado in a larger map
Published Date : November 21, 2011
After checking out the Colorado National Monument (definitely recommended!) at the beginning of our road trip to Southwestern Colorado, we began making our way to Telluride via Scenic Byways.
Just south of Grand Junction we hopped onto the Unaweep Tabeguache Scenic Byway, aka Colorado Highway 141. This isn’t the main route you’d take to get to Telluride if you’re in a hurry, but it’s certainly the more beautiful one.
Starting out, you’ll find these chunky rounded cliffs perched above the roadside.
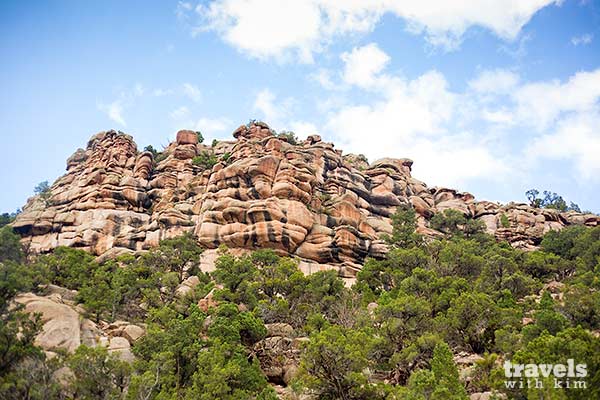
As you continue on, you’ll see rock formations quite like the ones you’d see in Colorado National Monument.
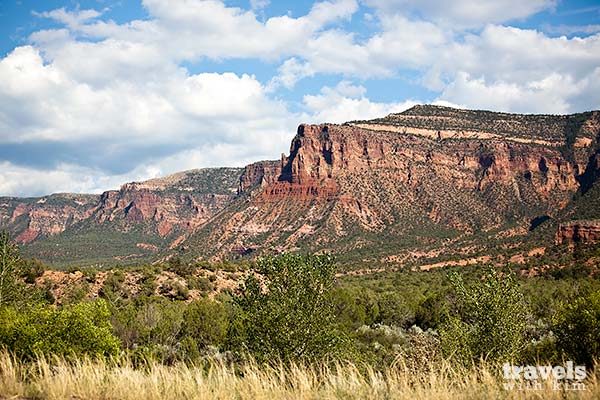
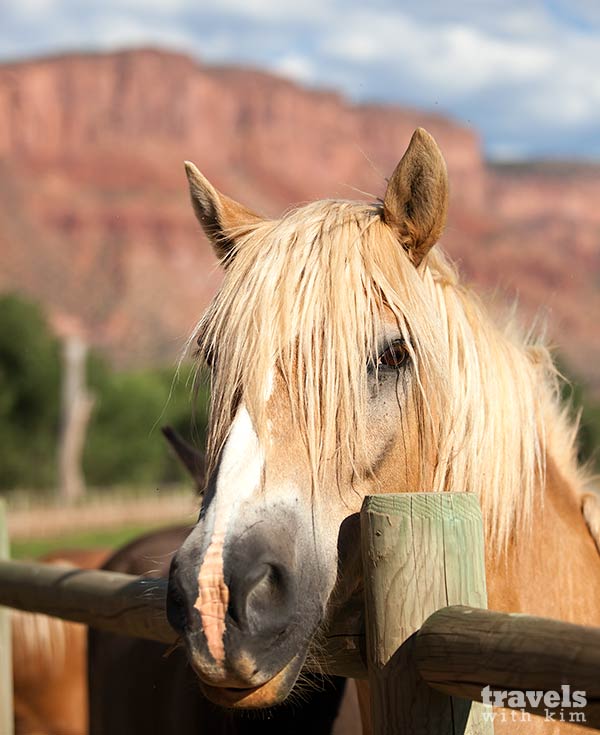
Gateway, Colorado, is a tiny town but in a gorgeous setting. It’s nestled in a lovely green valley surrounded by red rocky mountains. We detoured off of the main road just slightly to explore the town and said hello to some horses along the way. They were so curious and came right up to us.
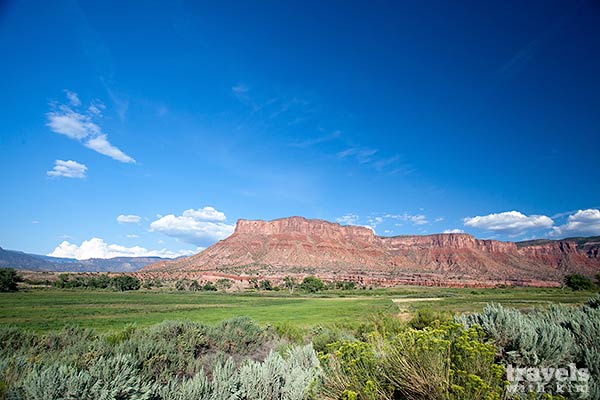
Heading out of Gateway, the landscape is still stunning. I just love the blue skies contrasted with the rocks.
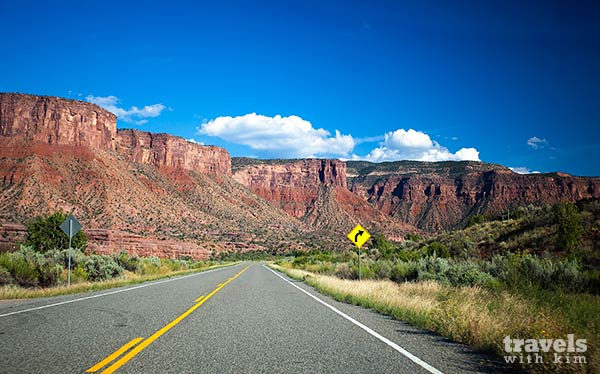
The road was practically deserted – we passed maybe 10 cars for the first couple of hours. It’s too bad that more people don’t come here because it’s so pretty.
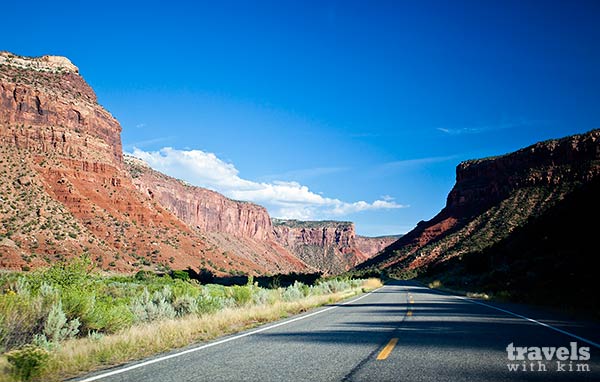
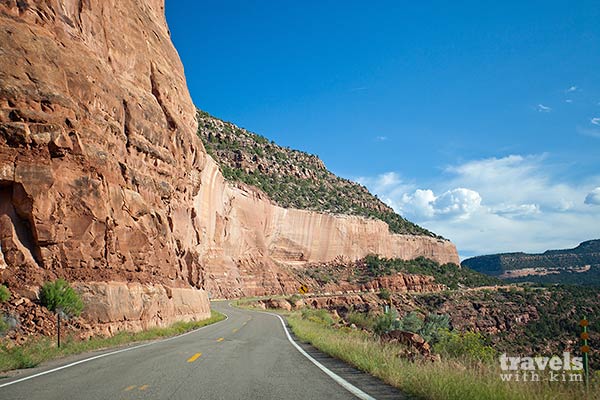
Eventually the red canyons give way to more rounded hillsides while the landscape opens up to wider vistas.
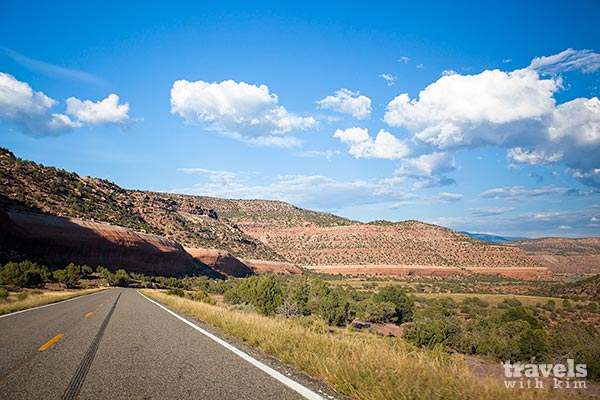
Can’t exactly say this particular portion of the road was scenic since it was mainly flat farmland. But what I found interesting is that this smallish section is actually atop a plateau, so we soon began a descent into the valley that would eventually lead us to Telluride.
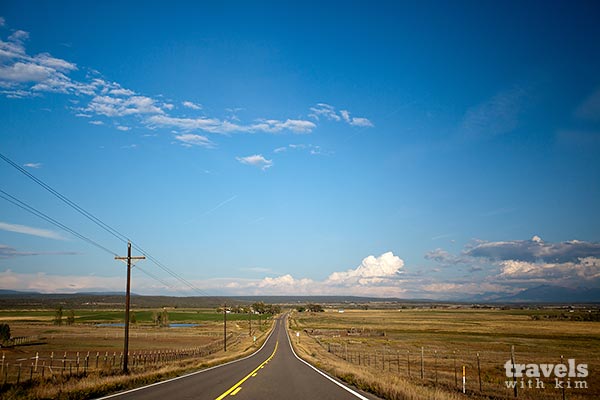
At this point we’re no longer on the Unaweep Tabeguache Scenic Byway, but have joined up with the San Juan Skyway Scenic Byway. Totally different-looking terrain, but beautiful in its own right.
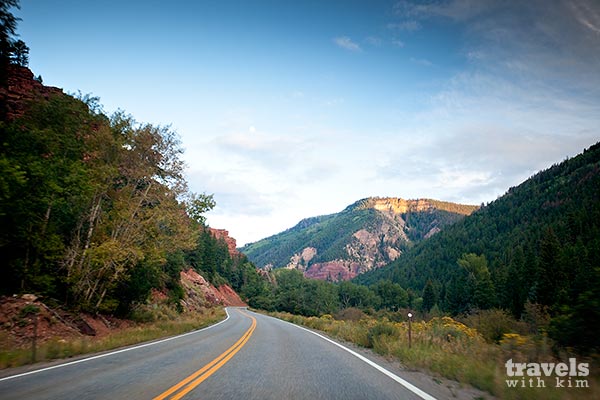
Almost to Telluride!
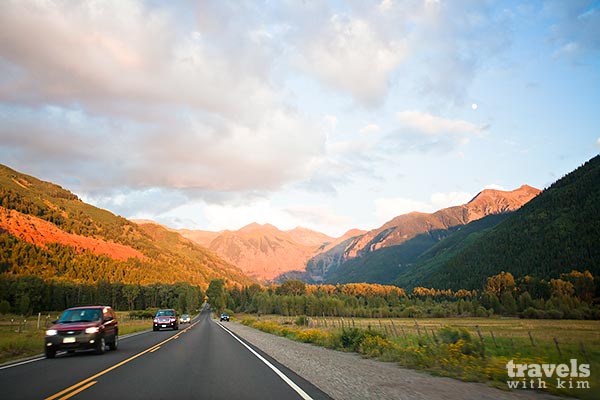
We arrived in Telluride just as the sun was setting.

This was truly one of the best scenic drives I’ve done in Colorado. The thing about “scenic” roads in Colorado is that the really scenic sections are usually sandwiched between only so-so scenery. Not so much on this route. It was nearly nonstop beauty.
By combining the Unaweep Tabeguache Scenic Byway with a short portion of the San Juan Skyway, the drive from Grand Junction to Telluride seemed relatively short because there was always good stuff to look at along the way.
Our drive took us about 4 hours, and that’s without making many stops except to take some photos.
The pink portion is the Unaweep Tabeguache Scenic section and the blue portion is the San Juan Skyway section.
View Scenic Route from Grand Junction to Telluride in a larger map
Published Date : November 18, 2011
One of the prettiest regions in Colorado is in the southwestern corner of the state. So when my father-in-law came to visit in September, we took a 5-day road trip down there.
The trip started off in a good way. Even though not part of the southwestern corner, our first stop was Colorado National Monument. It’s a spectacular place to visit and I didn’t know it existed until this trip (shame on me).
If you’re into natural red rock formations, deep canyons and towering rock monoliths this place is not to be missed. Even if you’re not one to go out of your way for natural beauty, though, Colorado National Monument is pretty impressive. It reminded me a little bit of the Grand Canyon (but on a way smaller scale, of course, because not much on this earth can compare to the grandeur of the Grand Canyon).
Colorado National Monument is just east of Grand Junction, Colorado, and isn’t far off of Interstate 70, so it’s a really easy place to visit if you’re in the vicinity. The primary road through the monument is called Rim Rock Drive and runs for 23 miles. Unless you want to stay longer to picnic or hike, the park can be seen relatively easily in 1-3 hours. You’ll drive along Rim Rock Drive and stop at various lookouts along the way.
We entered the park from the north side, which they actually call the West (Fruita) Entrance.
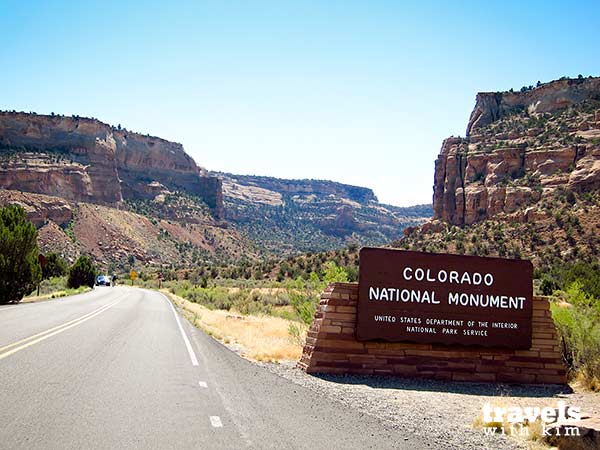
You start climbing almost immediately and in places the sheer rock walls tower over the narrow road.

One of the first pull offs you’ll come to is the Fruita Canyon View. It’s a good place to stop. See how beautiful it is? And we’re just getting started!

After you’ve stopped off at the Visitor Center for a look around their informative displays on the formation of the park, the canyons and wildlife to be found in the area, continue on Rim Rock Drive. Grand View is one of the best lookouts, as you’ll see below.

Here’s a shot of the road looking north back towards the Visitor Center.

Ute Canyon View, below, was one of my favorite stops. You can see the (presently dry) river winding its way through the canyon. The blue skies really made the red rock pop, too.

Near the southern end of the park and not far from the East (Grand Junction) Entrance, the terrain changes a bit. You can see the more jagged rocks giving way to smoother contours along the hillside.

I would highly recommend a trip to Colorado National Monument. The compactness of the park makes it easy to visit in a 1/2 day and its proximity to I-70 also allows easy access.
The colorful rock canyons, the interesting monolith formations and the general beauty are all good reasons to visit. As of November 2011, admission is only $10 per vehicle, or if you’re hiking or biking into the monument, it’s $5 per person. It’s worth every penny! :)
National Park Service – Colorado National Monument (there’s a great detailed map on their site)
Detail of Colorado National Monument
View Colorado National Monument in a larger map
Larger Map of Area
View Colorado National Monument in a larger map
Published Date : November 16, 2011
When it was time to drive back to Denver from Jackson, we took a different route than our drive from Denver to Jackson. The scenery was actually quite a bit different than what we saw when we came in to Jackson on Highway 191.
As you head out of Jackson on Highway 287, the scenery is still pretty dramatic, and looking in the rearview mirror you’re greeted with views of the Tetons for quite a while.
The terrain slowly changes and soon you feel like you’ve traveled over greater distances than you actually did because it looks so different from one section to the next…
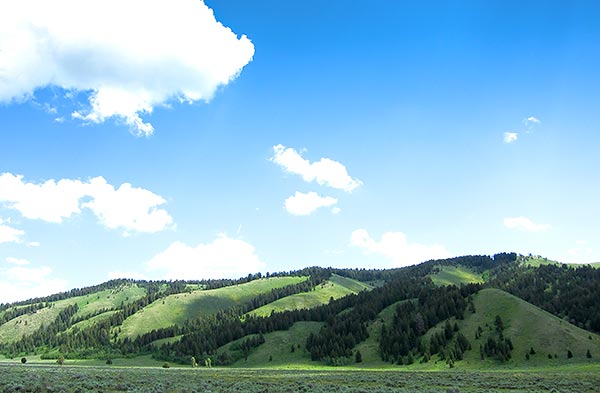
They may be different types of trees and shrubs, but I can’t believe how similar this landscape looks to a photo I shot of a green hill near Napa, California. This one was just north of Jackson, Wyoming.
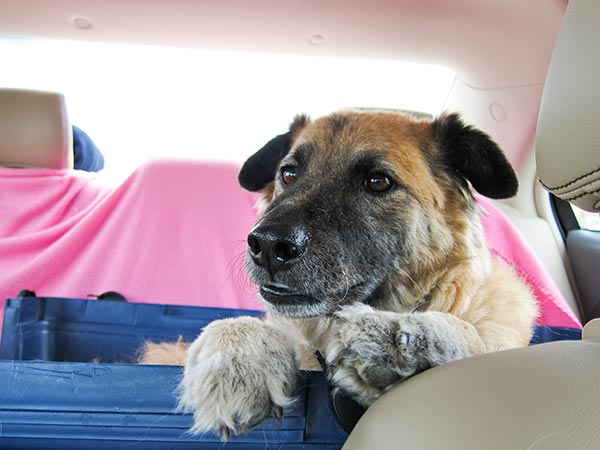
Nani loves road trips!
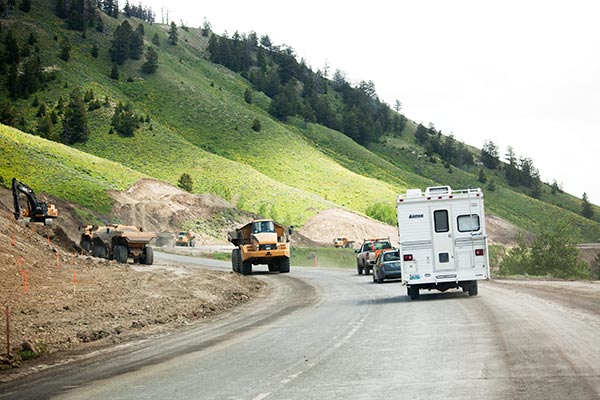
Not long after starting our drive, we ran into summertime construction traffic, a common and unfortunate drawback to road trips.
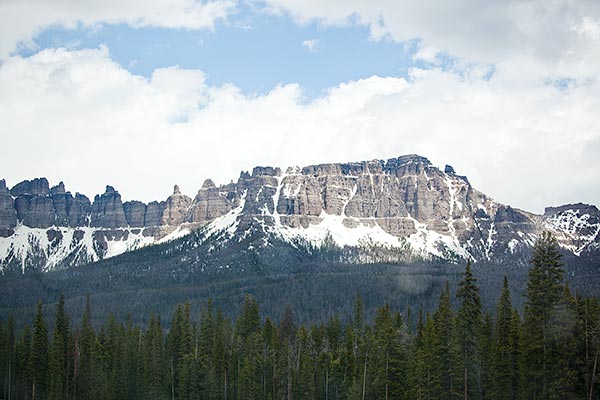
About an hour or so east of Jackson Hole the scenery still impresses.
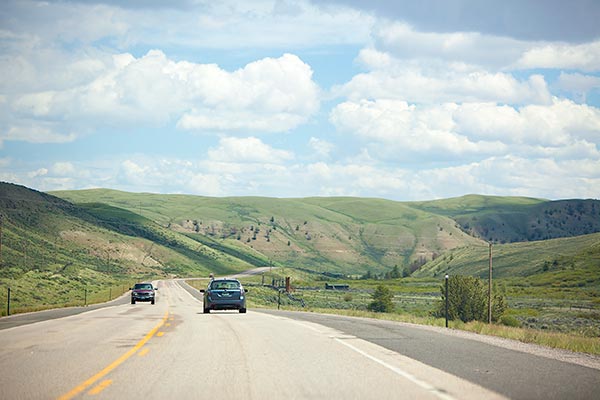
And while maybe not as dramatic s the Tetons, these rounded hills are still really pretty.
And then the red just comes out of nowhere. The hillsides are smooth at first…
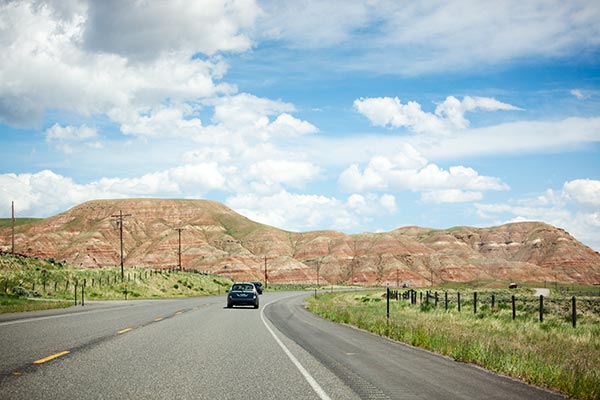
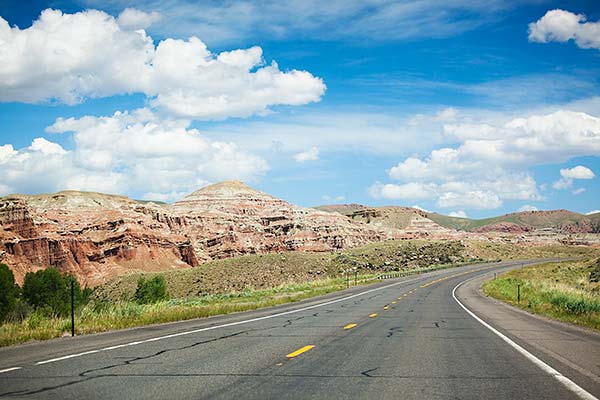
…and then a bit rockier.
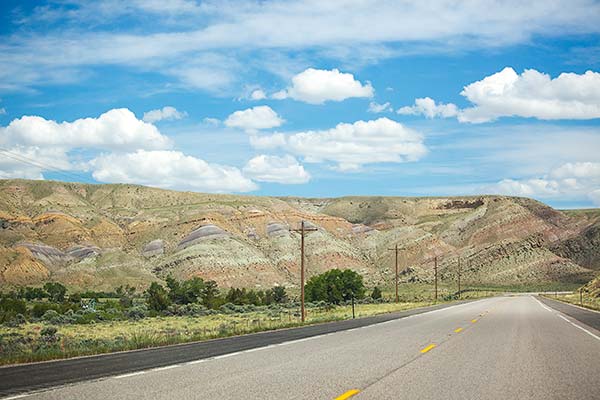
The red fades a bit, but a purplish hue is then added to the mix. I love all the different-colored striations.
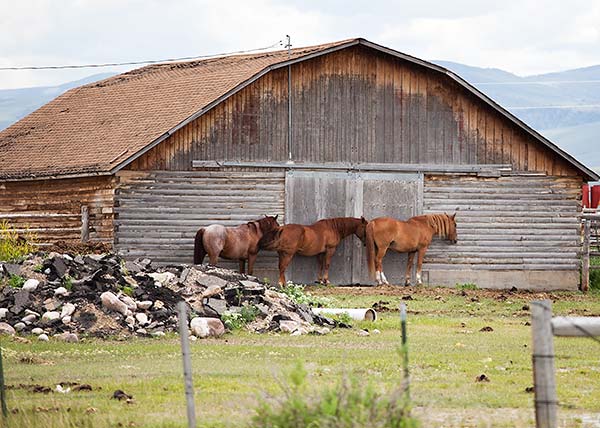
While sitting in an idle car during one of many construction delays, I saw these horses all lined up face to butt. Thought it was kinda funny.
We ended up driving through a pretty major thunderstorm in northern Colorado and the misty layers of rain forming along the layers of mountains were quite lovely.
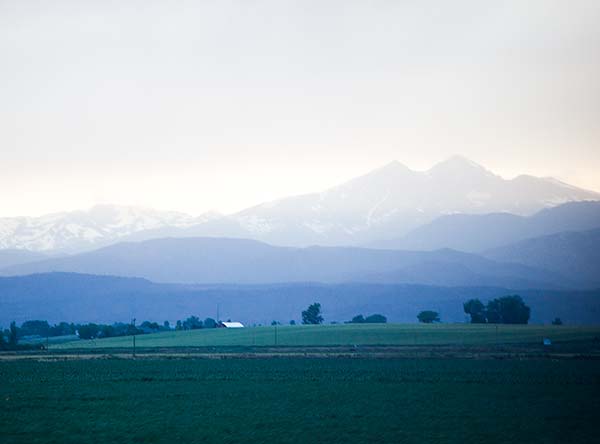
Driving from Jackson back to Denver was a pretty long haul – about 9 hours. This new route took almost exactly the same amount of time as it did when we took the other route (and on this route we actually had more delays from construction since it’s mainly a 2-lane highway).
If I had to choose one route over the other I’d definitely choose Highway 287 because the scenery is more varied overall.
Our route from Jackson, WY, to Denver, CO, is marked in light and dark blue. (The green route is the one we took from Denver to Jackson and the dark blue is the entire roundtrip route.)
Drive Time Jackson to Denver: 9 hours (approximately)
Distance Driven: 500 miles (approximately)
View Road Trip: Denver to Jackson in a larger map
Published Date : November 14, 2011
The valley that Jackson Hole sits in is a truly beautiful spot. The Teton Range runs the length of the valley from north to south and is a stunning backdrop to the Snake River that winds its way through the open fields and aspen and evergreen forests.
We visited in June and there was still snow capping the peaks. The rolling hills and fields were a lush green and there were quite a few different wildflowers scattered about, too.
Here’s a photo gallery of some images I took during our few days visiting Jackson Hole. Enjoy!
——————————
This shot was taken not too far south of the Jackson Hole Country Club along Spring Gulch Road.
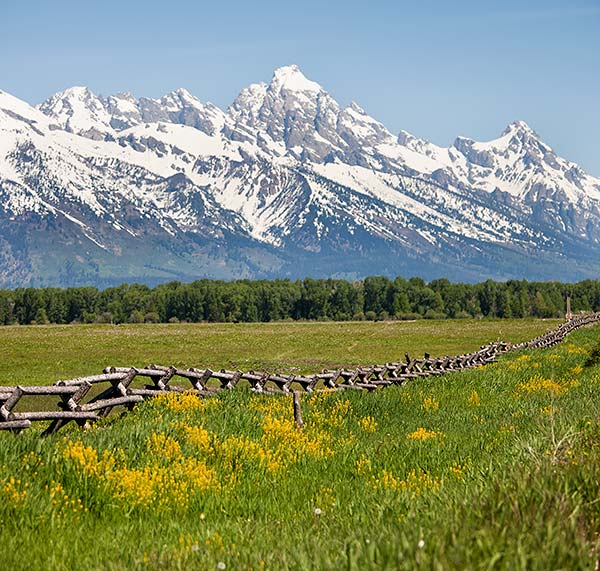
Some wildflowers with the Tetons in the background. This was also shot near the Jackson Hole Country club along Golf Course Road.
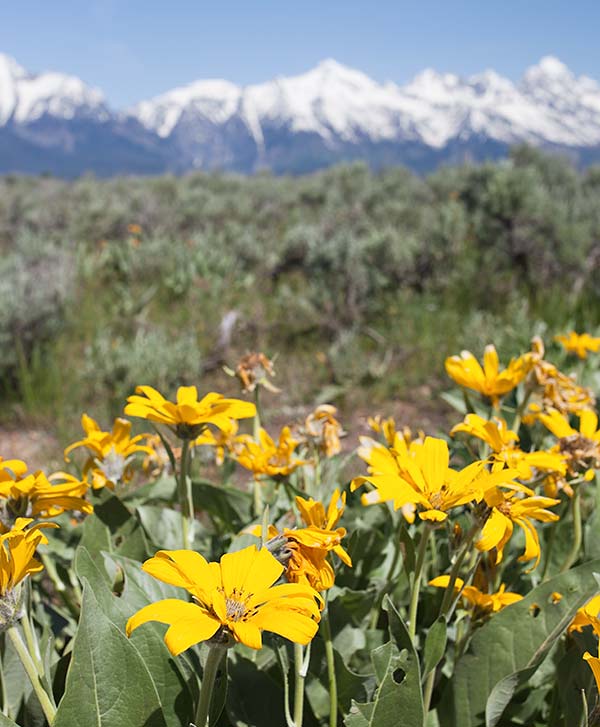
This is near the parking lot at the end of the main part of Shadow Mountain Road.
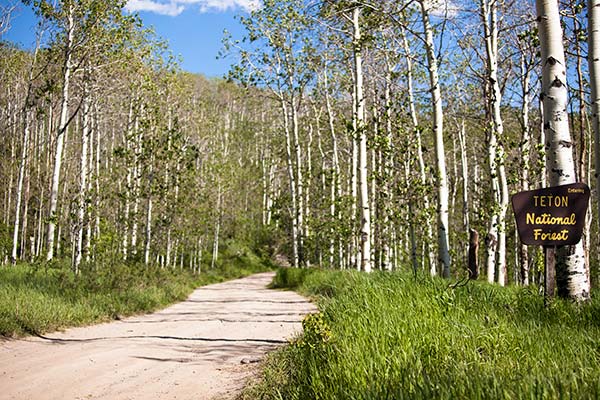
Here’s a view of the Snake River and the Teton Range from Henry’s Road (north of Hoback Junction).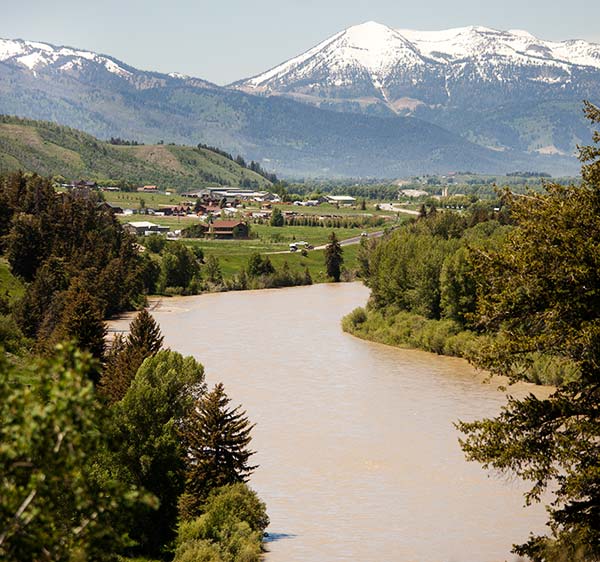
Road heading north into the National Elk Refuge.
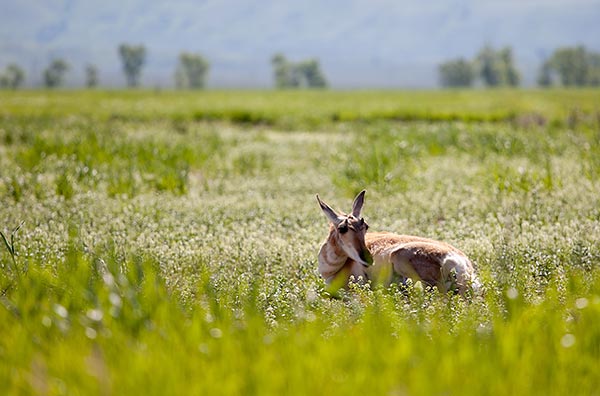
A pronghorn antelope soaking up some sun near Mormon Row.
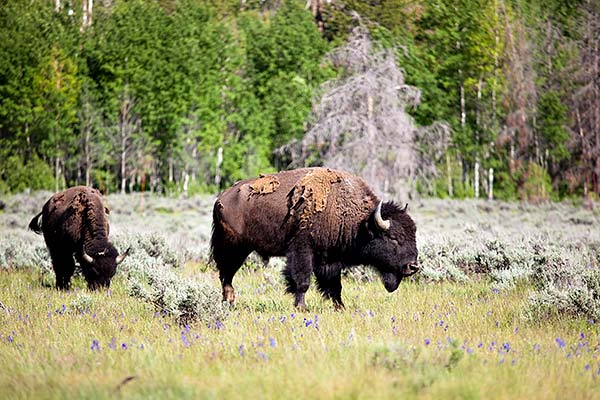
A couple of bison along Shadow Mountain Road.
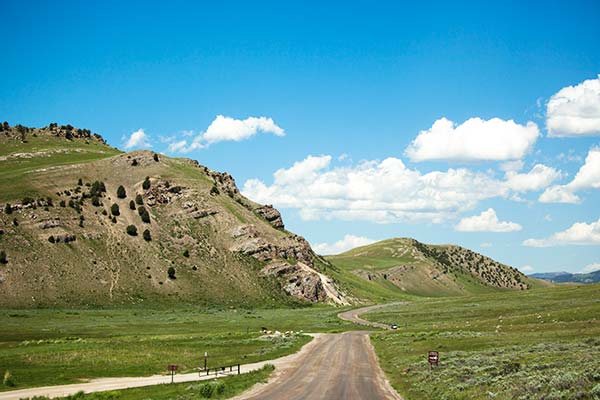
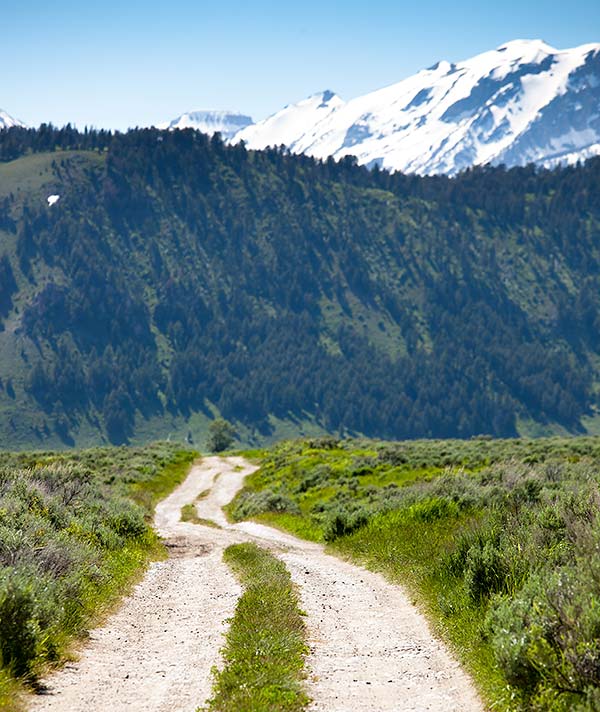
A disappearing dirt road near the Lower Gros Ventre Road/Antelope Flats Road.
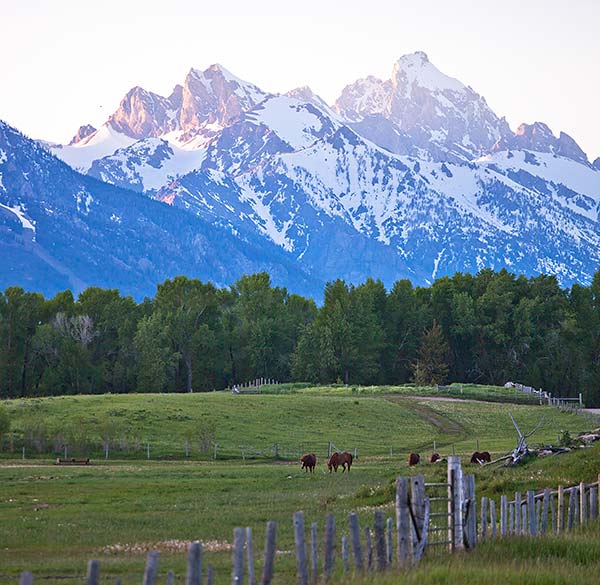
The sun setting on the Tetons. Taken from Spring Gulch Road.
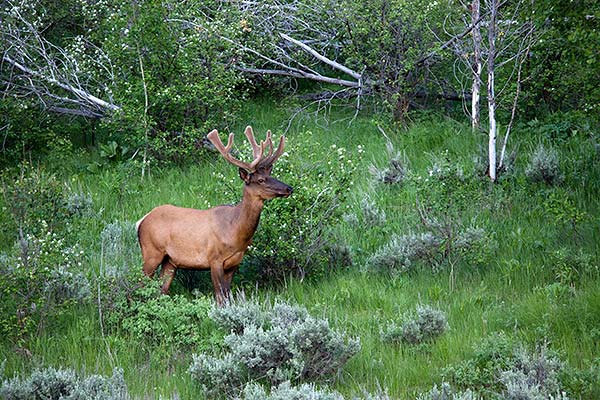
An elk just off of Spring Gulch Road.
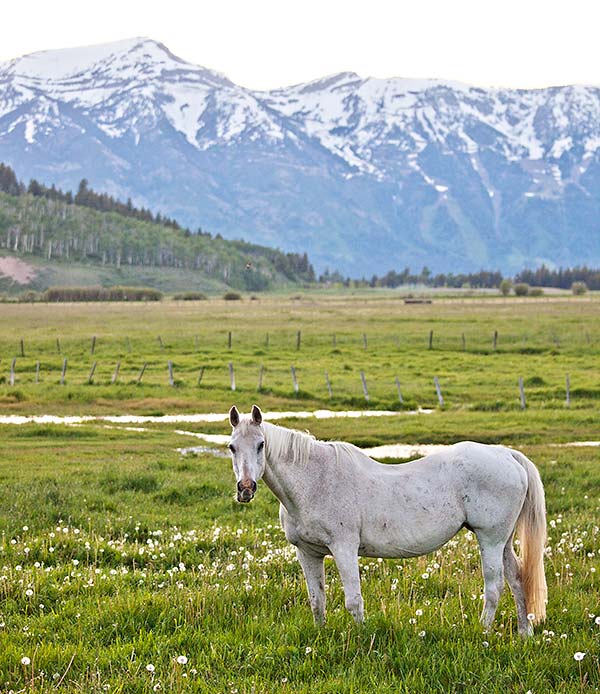
A horse watching me snap its photo. Spring Gulch Road.
And finally, a sunset shot taken at Schwabacher Landing. It’s so pretty here and one of my favorite spots.
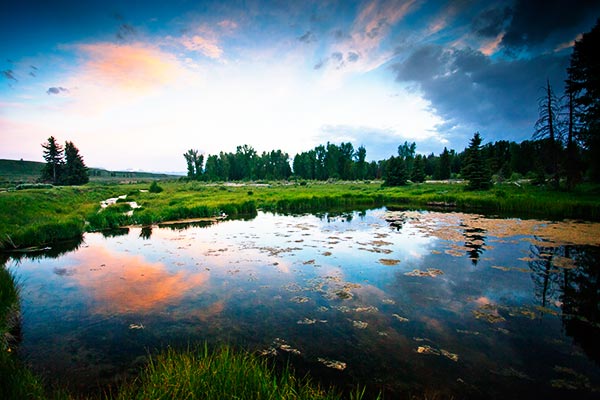
Even without officially entering the Grand Teton National Park you can still see some amazing things in the Jackson Hole Valley. A drive around on all of the roads in the area will reward you with different views of the mountains, the river or whatever finds your fancy.
View Photo Spots in the Jackson Hole Valley in a larger map
Published Date : November 11, 2011
Landscape photography is not for the uninitiated. It takes serious dedication, lots of patience and a willingness to lose sleep.
My last post talked about waking up far too early in the morning, way before my body is normally ready to get moving (I can’t remember the last time I got up at 5am). You may wonder, then, what the reason was that I’d subject myself to such a thing… Well, I wanted to go and shoot photos at sunrise at Mormon Row.
The light in the mornings is so unlike any other time of the day and, as they say, photography is all about the light. (For what’s it worth, even though it was brutal waking up early since I’m a non-morning person, it was worth it.)
After shooting like crazy when the light was just about perfect – so golden and warm – I started chatting with some other photographers who were there for the same reason, and they recommended I go check out nearby Schwabacher Landing, too. I hadn’t heard of it or been there yet, so I thanked them and headed on over.
When I arrived, most of the photographers were actually leaving since the “best” light was already gone and it was no longer considered perfect (by photographer standards, anyway). So I had the place to myself.
After parking in the lot, I started hiking down the trail. There are awesome photo ops all along the path, though I think the best ones are towards the end of the trail about 1/4 mile (roughly) from the parking lot. Just walk until the trail seems to peter out.
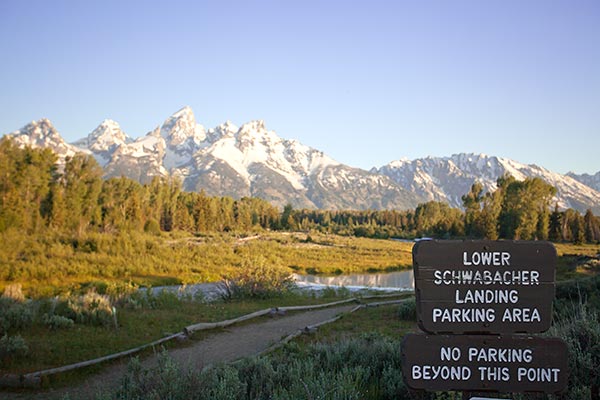
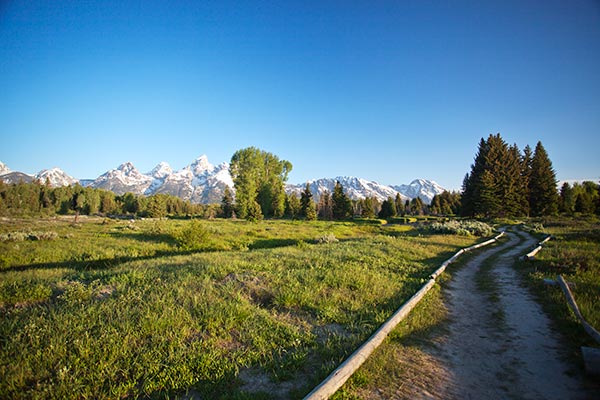
The Teton Mountains looming over the Snake River. Gorgeous.
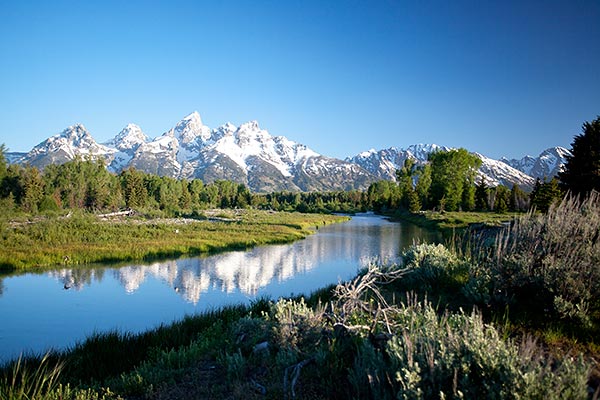
The water was so still that the reflection was crystal clear.
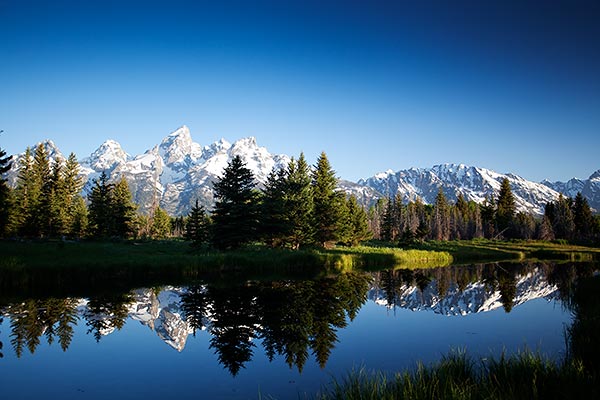
Later that day I came back with Tristan to take some sunset shots. The clouds weren’t quite what I was hoping for but it was still a gorgeous sunset. And, lucky for us, there was no one there so we could take in the beauty of the place by ourselves. It was so incredibly calm and peaceful and such a welcome break from the din of the city.
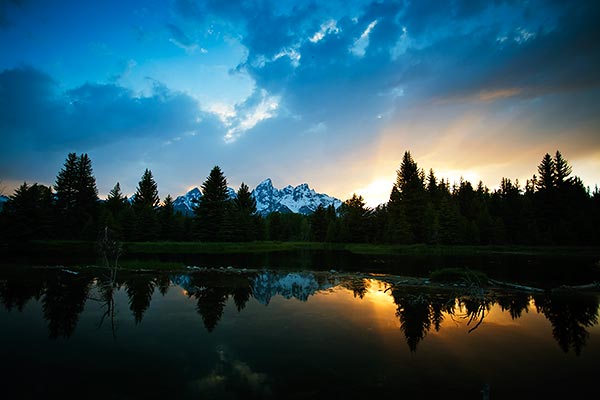
Of all the places I saw on this trip (and this is without going into either Grand Teton or Yellowstone National Parks), Schwabacher Landing and Mormon Row were the best for taking photographs. Of course, with the Tetons as a backdrop it’s hard not to take a good shot, but these two were my favorites.
Getting to Schwabacher Landing is pretty easy. The turnoff is just off of Highway 191 on the west side and you’ll drive about 1 mile on a dirt road to where the road ends. From there you can hike on the mostly flat path for about .25 miles to get some great shots. Happy shooting!
View Schwabacher Landing, Grand Tetons in a larger map
Published Date : November 9, 2011
Because this trip up to Jackson was a pretty quick one (and mainly for work), Tristan and I didn’t have time to do the normal touristy stuff we would typically like to do. Since I was on my own to entertain myself, I set out to explore and find some picturesque places to photograph in the Jackson Hole area.
If you’ve seen many photos of the Jackson Hole valley, you’ve more than likely seen images of the barn that sits on Mormon Row. Prior to this trip I had no idea where it was, but a helpful park ranger actually pointed me in the right direction. And even though the barn’s been photographed a gazillion times, I wanted to go see it for myself.
I have no idea when or who actually started photographing this barn along Mormon Row, but it’s certainly become a very popular place for photographers. And while Mormon Row is technically inside Grand Teton National Park, you don’t have to pay for the park fee.
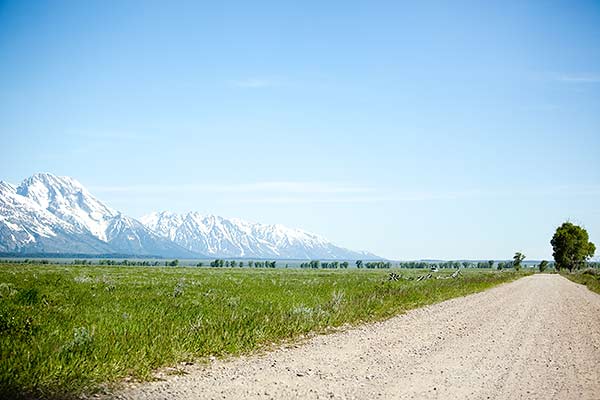
I first drove over there in the midday sun (not usually great for photographs) but it was still really pretty. This shot was taken heading north on Mormon Row.
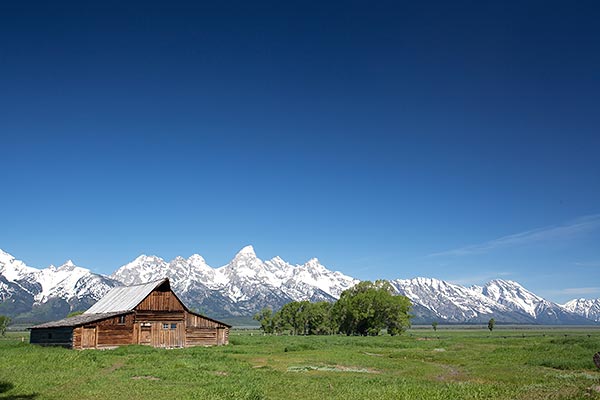
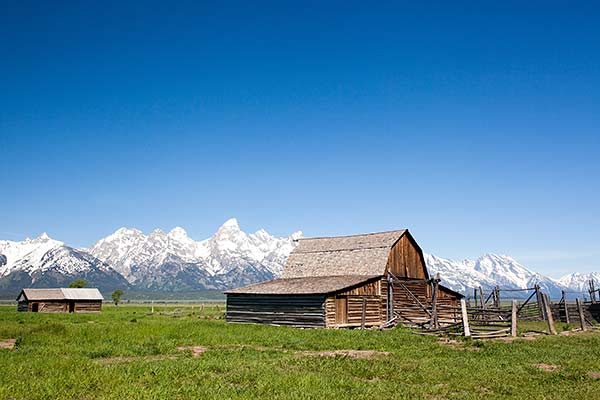
And here’s the barn that draws so many photographers. You can see why, though. The barn is a nice angular and interesting foreground element while the mountains look really spectacular behind it.
Farther down the road (where it dead ends), you’ll find another cluster of buildings. I thought this little pale pink one was quite quaint.
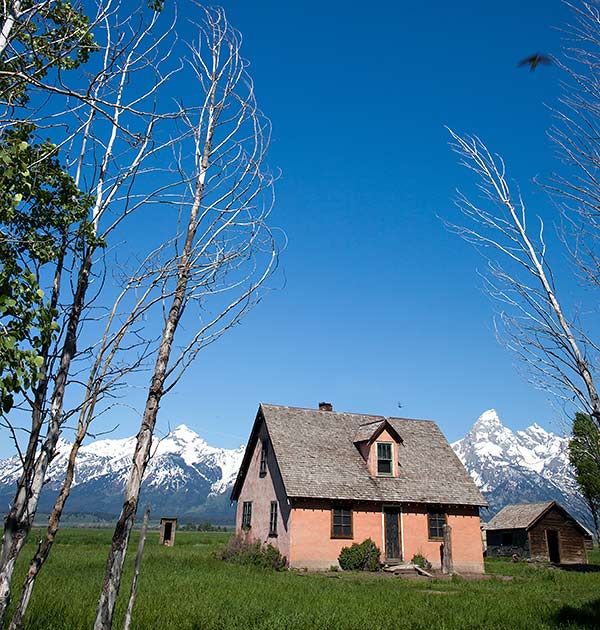
And there’s actually another similar-looking barn over here, too. The other one’s a bit better for photography, though, if you don’t want to have a dilapidated fence in front.
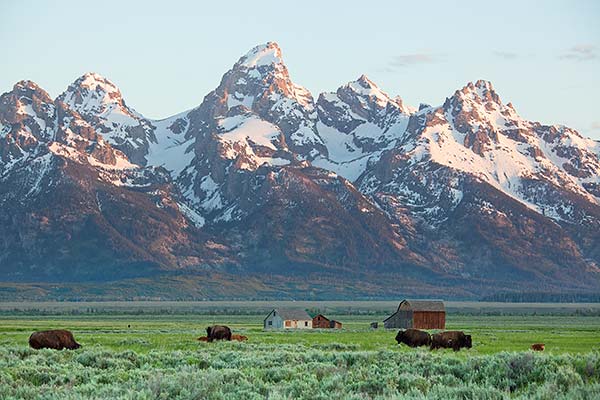
The next morning I was feeling ambitious and set my alarm for something like 5:00am. I was hoping to catch the sun rising over the Tetons. Turns out Mormon Row is a popular place to be at sunrise, too, and there were probably 20 or so people scattered along the road ready to capture some images.
This morning I was pleasantly surprised to see a herd of bison grazing lazily in the field.
This shot was taken just before the sun completely bathed the barn in its warm glow.
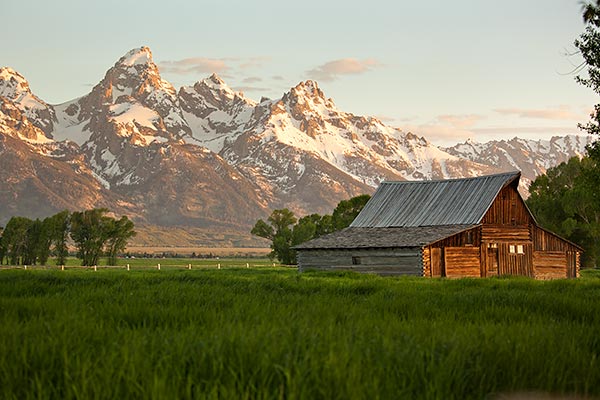
I know visiting the hot spots everyone else does to take photos isn’t necessarily ideal, but I think Mormon Row is such a pretty spot that it’s worth visiting anyway. And, unlike some great locations, it’s not far out of the way or hard to get to at all. A huge plus.
If you’re even remotely interested in photography, this is a great place to go get some images of the Tetons. You should also check out Schwabacher Landing (not far by car from here). The Snake River makes for a really gorgeous foreground and the Tetons reflect majestically in the water.
View Mormon Row & the Tetons – Jackson Hole, Wyoming in a larger map